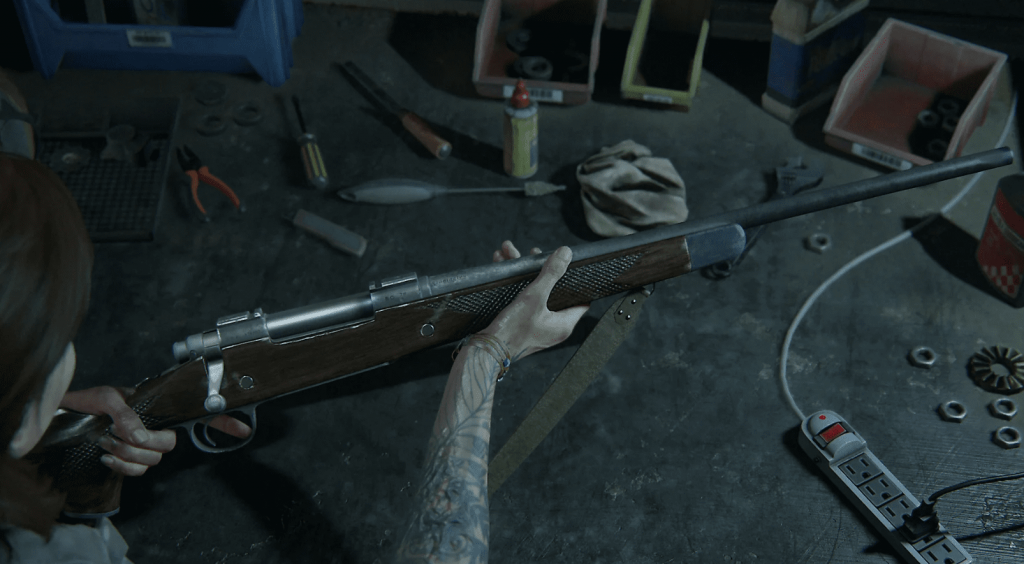
The Last of Us Part 2 brings back Workbenches from the first game. Workbenches allow you to upgrade your weapons, boosting their power and allowing them to hold more bullets, do more damage, etc. But, some of these are hidden and hard to find, which is why we have compiled all the workbench locations in The Last of Us Part 2 into this handy guide.
The Last Of Us Part 2 Workbench Locations
Chapters aren’t directly named in The Last Of Us Part 2, with the game being split up into days Ellie is on her revenge quest. However, we have taken the time to name them based on the locations and what they appear as when you save.
Of course, there will be spoilers in this guide, including story information, weapons, upgrades, and details about features Naughty Dog haven’t publically discussed. So, proceed with your own caution or take the guide step by step and only look when you have reached a specific chapter.
- Jackson
- Seattle Day 1
- Seattle Day 2
- Seattle Day 3
SPOILER WARNING
Spoiler warning for this section of the game. Do not read on until you have finished all the previous chapters.
- Seattle Day 1 (Abby)
- Seattle Day 2 (Abby)
- Seattle Day 3 (Abby)
SPOILER WARNING
Spoiler warning for this section of the game. Do not read on until you have finished all the previous chapters. The following section of the game begins after the farm.
Jackson
Chapter 4 – Patrol (1 Workbench)
Patrol is the entire section of the game early-on where you are scouting out locations with Dina, in order to clear Infected. At the very end of the chapter, you and Dina will take shelter in a library. After making your way through it you will reach the children’s section of the library and need to turn on a generator. Once the generator is on, Dina will point out the Workbench to you.
 Seattle – Day 1
Chapter 9 – Downtown Seattle (1 Workbench)
Downtown Seattle is the biggest chapter in The Last of Us Part 2. It is the large sprawling open area after you have found the closed “Fuck FEDRA Gate”.
You will exit out into the large metropolis of Seattle. There are around a dozen different locations to explore here. But, in order to find the workbench, you will want to head to the north-west corner of the map: 5th Avenue, between Madison Street and Marrion Street to be exact.
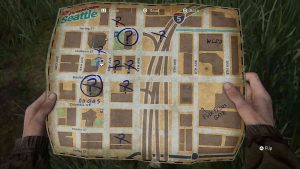
In the second block along Marrion Street, you will find a supply tent on a raised piece of land to the side of a checkpoint gate. Squeeze yourself through the gate and enter the tent. Inside, you can find the Workbench.
Chapter 11 – Capitol Hill (2 Workbenches)
The second workbench is at the end of the level when you come across the explosive claymore traps. After a little while, you will reach a blocked path that leads to a small street with a few shops. Squeeze through the gap ahead and enter the building on the right (the Take-Kwondo Gym), with the broken wall. Inside the back-left room you need to crouch through, you can find the workbench.
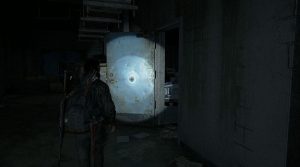
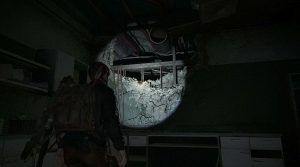
Chapter 13 – The Tunnels (1 Workbench)
The only workbench in this level is found after the first encounter, where you enter the open ventilation room. You will need to climb a ladder and look to the right to see some spores on the wall and a blue door. Head through the blue door to find the Workbench.
Seattle Day 2
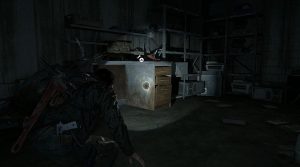
Chapter 16 – Hillcrest (2 Workbenches)
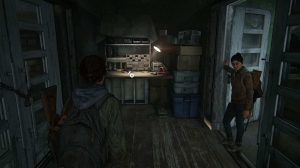
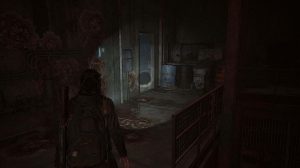
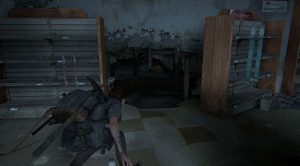
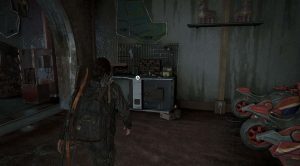
From the beginning of the level, head into the second shop on the right (Rosemont). Drop down through the hole behind the cash register counter to find the workbench in the basement.
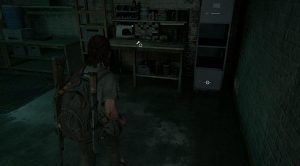
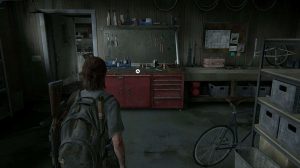
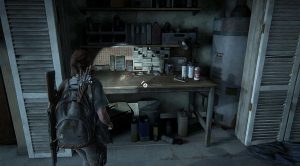
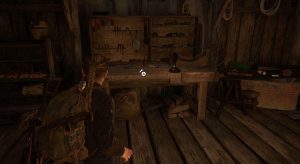
Much further into the level, you will need to use a dumpster to climb up onto a garage roof. After jumping down and entering into the next building, you can find the workbench in the workshop, right in front of you.
Chapter 18 – The Serpahites (2 Workbenches)
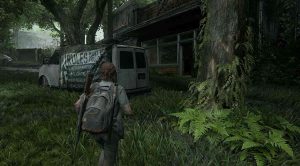
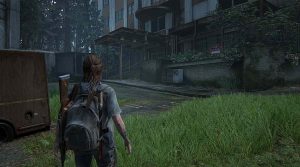
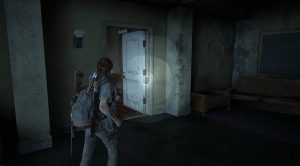
A bit of the way into the level, you will go through an underpass and there will be a large block of apartments on the left. Climb up the truck in front of these apartments and jump into the apartment block by smashing the glass and head into the door on the left. In the kitchen you can find the Workbench. But, be warned you will get grabbed by some enemies after you use it, so prepare for a fight.
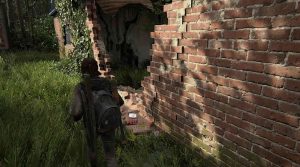
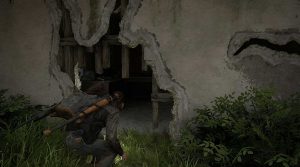
The second workbench comes after you fight the human miniboss with the pickaxe. After dropping down into the water and seeing the hospital again, you will come to a bit of land with Weston’s Pharmacy in the far distance. Head up the pathway and into the store at the top. About halfway through the store, there will be a hole in the wall on the left. Crawl through it to find the workbench on your right on the other side.
Chapter 20 – Road To Aquarium (2 Workbenches)
After you enter the first large building with Jesse he will open a door at the back of the shop. This leads to the back of the shop. Enter the second blue door on the right and crawl under the blockade. Inside this room is the first workbench.
Much later in the level, you and Jesse will do some diving to traverse blocked areas. Eventually, you will come across a large white building with a ramp leading up to the right. Climb up the ramp and both platforms to the upper level of the building. Do a U-turn and walk past the mannequin. Go into the door ahead and then the first door, directly on your left. Just at the end of the room is the workbench
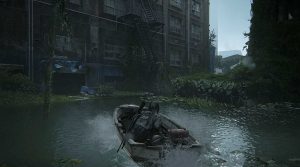
Chapter 21 – The Flooded City (2 Workbenches)
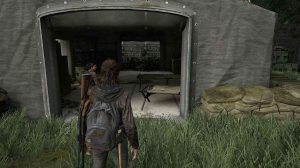
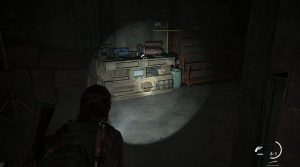
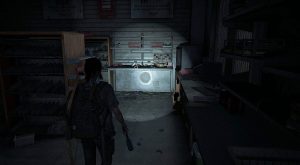
A little bit of the way into the level, Ellie’s boat will cut out and she will say “kidding me.” Restart the boat and head to the left of the large Seattle Sleep Warehouse building ahead. There is a small garage you can enter with the workbench inside.
The next workbench is in the arcade, which is a mandatory location you need to explore late into the level. Head up the staircase and to the back of the arcade to find the workbench just to the right of the racing machines.
SPOILER WARNING
Spoiler warning for this section of the game. Do not read on until you have begun this chapter, which begins after you leave the stadium.
Seattle Day 1 (Abby)
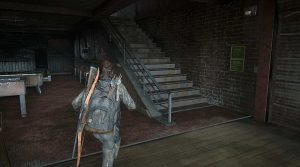
Chapter 25 – On Foot (1 Workbench)
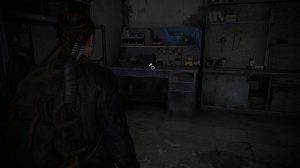
After a while, you, Mel, and Manny will end up in a large warehouse. To your right, next to some stairs, you can find the workbench.
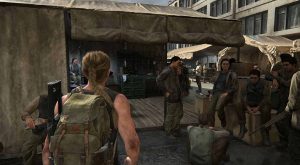
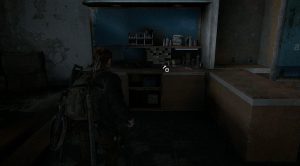
Chapter 26 – The Forward Base (1 Workbench)
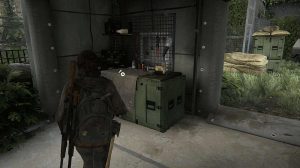
The sole workbench in this level is quite early on. After entering the large communal area with tons of people standing around, head into the tent on the left to find the workbench.
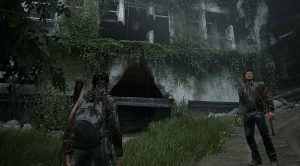
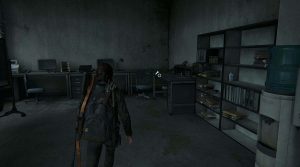
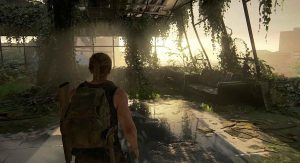
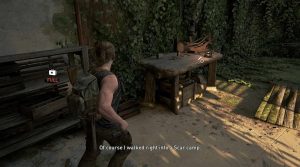
Chapter 28 – Hostile Territory (1 Workbench)
The only workbench in this chapter is at the very end of the level. After you battle the Seraphites (Scars) in the destroyed buildings, you will crawl under some rubble and reach a large open room overgrown with foliage. Turn to the left to find the table in the rooftop garden.
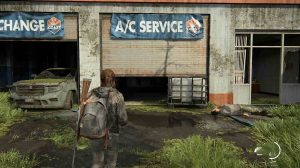
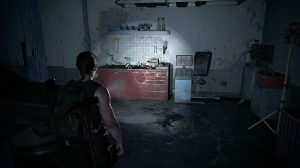
Chapter 30 – The Forest (1 Workbench)
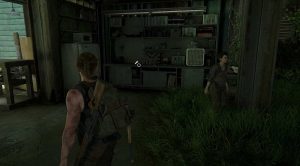
The first and only workbench is found after you fight the woman who stole your backpack. After that fight, you will enter an auto shop. On the left side of the main room you can find the workbench.
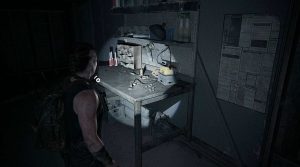
Chapter 31 – The Coast (1 Workbench)
The workbench is inside the first building you enter in this chapter. It is practically unmissable as it is right to your left as you open the door.
Chapter 33 – The Shortcut (2 Workbenches)
Midway through the level you will hop across some islands in the waterfall and enter a phone store called ‘Interbay’. On the left side of the store, you can find the first workbench.
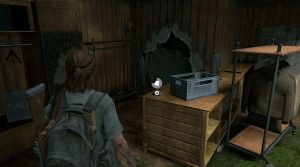
Even further into the level you will climb up some ladders and fight some Seraphites (Scars). You will come across a large shrine in front of a stained glass window. Enter the room to the right to find the second workbench.
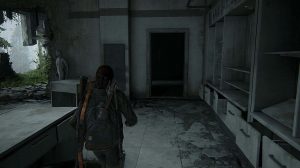
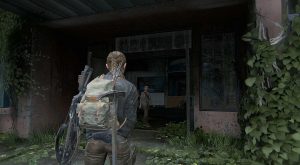
Chapter 35 – Ground Zero (1 Workbench)
Fairly late in the level, you will need to hop over a wall in the Surgery area. In the room on the left with the power, you can find the workbench.
Chapter 38 – The Island (1 Workbench)
The only workbench in this level is at the very end. After you spot Isaac’s ship and go past the two enemies, there will be a hut on your left. Inside, you can find the workbench.

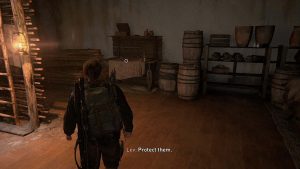
Chapter 39 – The Escape (1 Workbench)
Late into the level, Lev will drop a ladder for you. As you climb into the next room, the workbench will be right in front of you. It is practically impossible to miss.
SPOILER WARNING
Spoiler warning for this section of the game. Do not read on until you get to the second chapter after the farm.
Santa Barbara
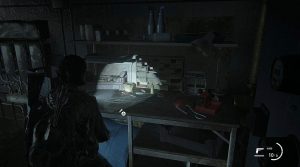
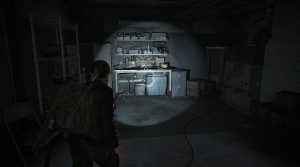
Chapter 43 – Pushing Inland (1 Workbench)
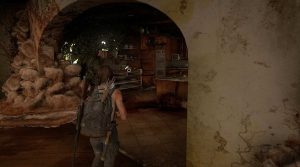
The only workbench in this level comes after you kill the Clicker on the roof and jump into the building. Make your way to the ground floor to find the workbench in the kitchen.
Chapter 44 – The Resort (1 Workbench)
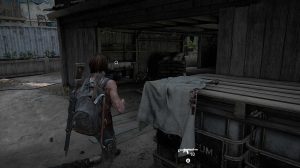
The last workbench in the game is found in the first enemy encounter from within the resort. In the large open area, with containers, there is a hut in the middle. The workbench is inside that hut.
The Last Of Us Part 2 is available now on PS4.