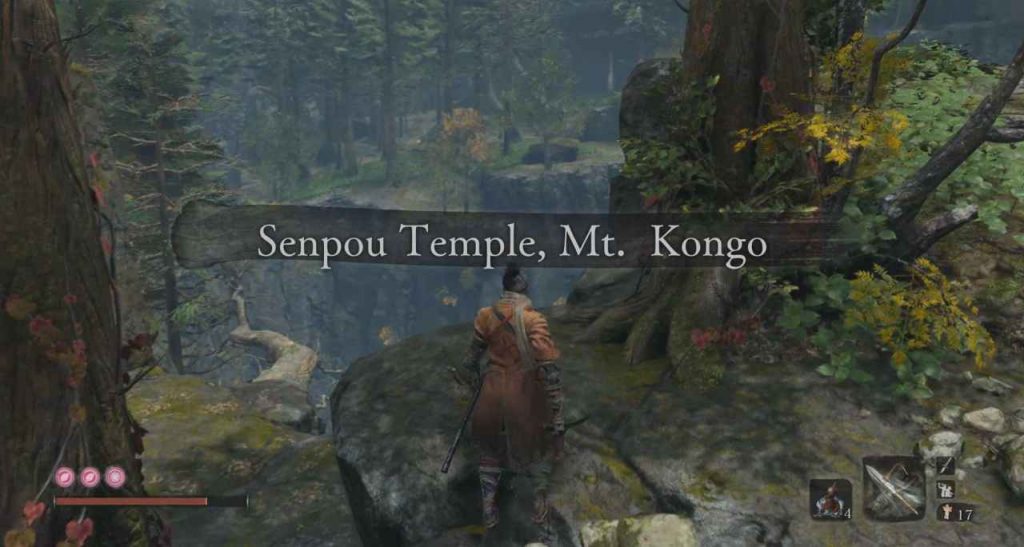
Senpou Temple, Mt. Kongo is a long, mostly linear area that is found after Ashina Castle and the Abandoned Dungeon in Sekiro: Shadows Die Twice. This walkthrough will show you all of the items, enemies and a few hidden secrets.
Senpou Temple, Mt. Kongo – Lower Hills
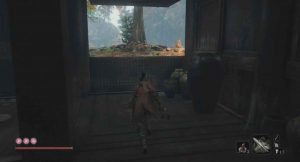
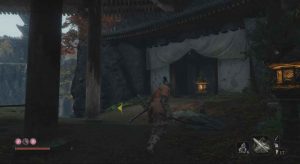
From the first Idol after the Dungeon, head outside and take a left to find some Gachiin’s Sugar. If you head back to the door, drop down to the right this time. Up against the wall of the building you just left is Scrap Iron. Down the hill you will meet a man you can talk to. He will be crying because he is all alone. If you ask why he is crying he will say that he was looking for a white flower. This will be important for later.
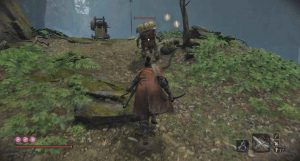
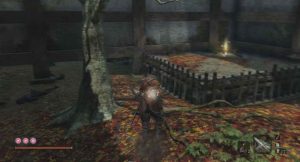
Now, head down the slope and just ahead you will find Blackhat Badger. You can’t do much with him at the moment. Now, turn to your right. Sneak up behind the enemy and stealth kill him. Drop down again and pick-up a Mibu Balloon of Spirit and a Gachiin’s Sugar beneath where the enemy was.
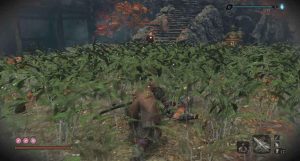
To your left will be one of the troll enemies, sneak up behind him. Just ahead are some White Spirit Emblems and a Kite you can fly. You can’t do anything useful with that Kite right now.
Head, back up to Blackhat Badger and continue up the main path. Ahead you will find the grunt types enemies of this area. The Monks. Now, they are not actually that difficult. They should only take three hits to stun. You can also block almost all of their attacks, except for the grab.
Alongside two of the melee ones, you will fight one with a spear. A couple of his attacks can be blocked. However, I would make use of the Miriki Counter here for his thrust attacks, following up with a few hits.
To the left, you will find another three guarding an item. Try to split them up, taking them on one or two at a time. Once they are dead, you can pickup the Mibu Possession Balloon they were guarding.
Up ahead you will have around five Monks. You can hop up to the tree and jump on one as they are scaling the stairs. You then want to back up to the gate where you fought the other three. On top of that gate is a Light Coin Purse. Once that group is down head up to the top of the stairs and kill the remaining enemies. Along the main path, halfway up those stairs you can pick-up an Ako’s Sugar.
To the left, on a ledge, you can find some Pellets. On the right side, you can find some White Spirit Emblems. On the level below that is a Light Coin Purse and two Antidote Powders.
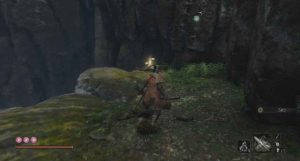
Now, head back to where you picked up those Spirit Emblems. Above you is a grapple point, with a Heavy Coin Purse on the cliff edge.
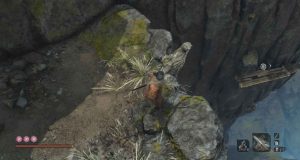
Hop back down and head to the left side. At the very top of this path, behind a rock is a Pacifying Agent.
Now, head to the main gate and pick-up the Fistful of Ash on the floor. To the left, you will see a grapple point. Grapple up into the building.

Up here you will find a bunch of flies as well as an Ako’s Sugar. Head on down the stairs and kill the couple of flies that jump off of the walls. On the way down a Monk will walk in front of the entrance, let him go by. Look around the corner and wait for him to turn around. From there, backstab him.
The three regular Monks and the Monk in the White robe all have their eyes closed; therefore, they cannot see you. Behind that Monk in the White is a Mace Wielding Enemy. Sneak around to the right and kill him from behind. This will alert the other enemies. Kill the three regular Monks next.
The Monk in White cannot actually die, instead he just doesn’t attack you for around 5 seconds after you perform a deathblow. He attacks by spitting out more flies, which is a big nuisance. Once they are down. You can pickup a Gourd Seed in-front of where the Monk was sitting. Behind him, where you killed the mace-wielder, you can pickup a Lump of Fat Wax. This is used for higher Prosthetic Tool upgrades.
In the far left corner of the room, you can pick up some Ceramic Shards and a Gokan’s Sugar. Now hop outside and turn to your right. Here is a Mibu Balloon of Soul. You can talk to the woman on the cliff edge. She will ask you for Rice. You don’t have any yet. But, we will come back here later.
Along the main path, there are three enemies. Stick to the grass, becuase the torch-wielder will enter it. Perform a stealth attack on him. Do the same for the other grunt.
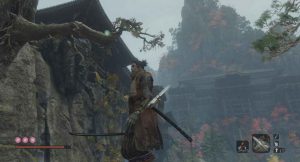
Now, we are going to take on the enemy with the two-bladed spear. And, by take on, I mean stealth him. If you walk around to the far right, you can hop up onto the stairs and kill him from behind. There is another Spear enemy just above him. This one you have to take on in active combat.
You should be deflecting or attacking the majority of the time with this guy. If he jumps into the air, swing at him to knock him to the ground. If he jumps over you, turn around and swing at him before he pulls off the thrust attack. If he does his overhead slam, dodge to the side and attack once or twice. Eventually, you will get him.
On the left side of this area, you can find a White Spirit Emblem and an Antidote Powder.
Along the left side, you can find two more grunts who are drunk and a Pellet. On the main bridge, where the second Spear enemy was you can find a Gachiin’s Sugar.
Now head up to the right side of this area. Up on the tree, you can find a bunch of White Spirit Emblems. Behind the hut on this side are two more enemies and an Ungo’s Sugar.
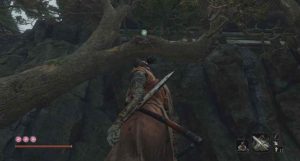
Now, head back to where those drunken enemies were and grapple up to the branch on the left.
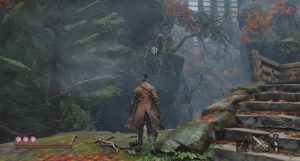
Up this path are two White Spirit Emblems and a Sculptor’s Idol.
Senpou Temple, Mt. Kongo – Shugendo
From the Idol, turn around and grapple to the platforms along the cliff edge.
Along here you can find some Ceramic Shards and a Memorial Mob Shop. There isn’t anything of interest here, except the Dragon’s Blood Droplet, which can be used to heal Dragonrot.
Head back to the Idol and take the lower path forward. Inside the cave is a Mibu Balloon of Spirit. Ahead, across the gap, you will one of those troll enemies. Another one will drop from above. Deflect their attacks or use the Axe Prosthetic Tool to kill them both. Grapple across the gap to pick-up a Gachiin’s Sugar.
Continue up the cliff and kill the third troll creature. Up on the next level, on the planks, is a fourth troll creature. Along the way, you will pick up a White Spirit Emblem.
Continue upwards and climb up the rockface. You will see a branch to grapple to.
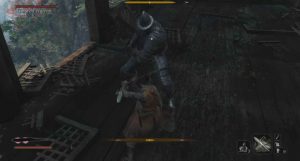
Once across the other side, we are going to ignore the left side for now. Instead, head through the bridge. Here you will fight your first mini-boss. This fight is against the Armored Warrior. His armor is unbreakble, meaning you cannot kill him in the traditional way. The goal here is to execute a Shinobi Deathblow close to the edges of the bridge. That attack will then push him over the edge, where he will fall to his death.
You will want to deflect the majority of his attacks, getting a few attack in here and there. His thrust can be countered with the Miriki Counter skill. Overall this fight is quite easy when you know you have to knock him off the edge. It is all about positioning. Once you have defeated him you will get a Prayer Bead and the Breath of Nature: Shadow Skill. The latter will restore posture upon a successful deathblow.
Up ahead is some Scrap Magnetite and a Sculptor’s Idol. Rest and head back through the bridge. We are going to go up the left path we avoided earlier. In the corner, you will find a Red and White Pinwheel, which is not the colour the man wanted at the beginning of the level.
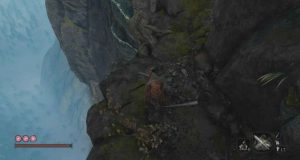
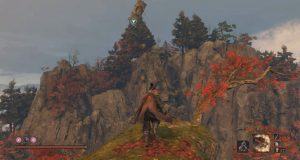
Head down to your left now. After grappling to the cliff look down to see some planks on the cliff edge. Jump to them.
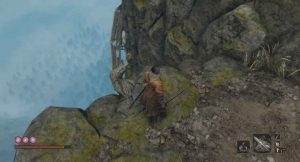
At the end of the cliff, look down again to see some ledges you can grab onto. You want to run and jump to them, hitting square just as you fall next to them.
Hop up to the second one and along the path. Two lizards will drop down. Use the footholds to jump up the walls. On the cliff edge, you can find the White Pinwheel that the man wanted. Hop across and kill the lizard at the end of the cliff. Now, head up to the small temple.
Open up the door at the top here. Inside you will find one of the smaller Giraffe creatures. Inside you will find some Black Gunpowder. In the room to the right, you can find some Monkey Booze and a Heavy Coin Purse. In the left room, you can find a shortcut back to the Ashina Outskirts, in the cave where the Headless enemy lies.
Go back to the middle room and head through the open door. Up here is a Sculptor’s Idol. The large bell has a note on it that you can read. It will tell you not to ring it. Ignore it and ring it anyway.
Ringing this bell will cause all enemies in the world to get tougher, because of the item it gives you. If you want to remove this debuff, go into your inventory and use the item.
Now, travel back to the Shugendo Idol.
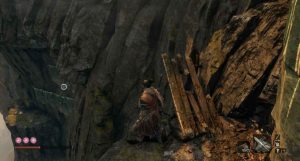
You want to head up, past the fourth troll creature. Across the rock, you will see a grapple point and some ledges. You want to run, grapple towards the point, and then hit square just as you hit the ledge. Shimmy along and drop to the cliff below to pick up a Heavy Coin Purse.
Use your Homeward Idol to teleport back to the Idol. Finally, head to the first Idol in this area and go speak with the man who wnated the flower. You can choose which flower to give him. Once that sequence is done, head up to the Idol you activated after defeating the Armored Warrior.
Senpou Temple, Mt. Kongo – Temple Grounds
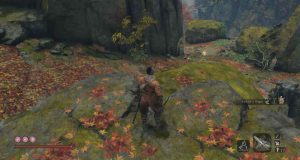
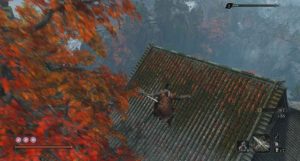
On the path below you can find some wolves. On top of the building, on the roof, you can pick up some Ceramic Shards. Follows the steps down to find a Gokan’s Sugar on the right. Ignore the enemies on the left for now. Instead, head down the right path.
A monkey will drop down, and another will pop out. Next to them, you can pick up some Pellets. As you head down you will get noticed by a couple more monkeys.
Just past the corner, you will come across another monkey and an enemy with a hammer. Kill the monkey and then run back so that the Hammer enemy loses sight of you. When he has lost you, sneak behind him and stealth attack him. Next to him, you can find two Mibu Balloon of Spirits. Along from there is a Persimmon, which will allow you to recover posture on a consistent basis.
Beneath that are some White Spirit Emblems. To the right is a Mibu Balloon of Spirit. Finally, a Heavy Coin Purse can be found by the bridge.
Now, head back to the main path.
I recommend cleaning out all of these enemies first. The Monks with hoods on will throw tracking bombs at you, which you can dodge. Once that is done, hop into the water and kill the two fish to get two Treasure Carp Scales.
Back up on the path, behind the left building, you can find a Fistful of Ash.
On the first set of stairs, heading up to these buildings, hop down to the right. Here you can find a Mibu Possession Balloon at the bottom.
Head up to the Large Gates here. Go down the left path to pick up some Ceramic Shards. Now grapple up to the roof. Just ahead, on the roof, you can find two troll enemies, with another one in the distance, and another one on the left.

There is one more troll enemy in the courtyard below. On the right, you can find a Light Coin Purse. Now, head inside the room with the Monks and the white-robed Monk. The white-robed Monk will not die, like the previous one. So, kill the normal monks.
That Monk will spit a Millipede out of its head which can grab you and deal a lot of damage. Just pick-up the Lump of Fat Wax Behind him and run away.
Grapple up to the right rooftop and jump to the lower building. Head to the lower level rooftop oft hat building.
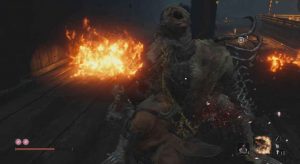
If you look inside you can grapple to the beam in the middle of the room. Inside there is one of the Giraffe mini-bosses from the Sunken Valley and some of the smaller ones. Kill the smaller ones on the beams before dropping down to do a plunging deathblow on the mini-boss: Long-arm Centipede Sen’un, to take away one healthbar.
The best trick here is to get him as far away from the smaller enemies as possible, as they throw fire bombs. As before, just deflect his attacks until you are able to do a deathblow. Once he is dead you will get a Prayer Bead and some Yellow Gunpowder.
Now, kill the smaller enemies in here. Next to the fire, you can pick-up some Black Gunpowder. To the left is some more Black Gunpowder. Behind you is a Gokan’s Sugar.
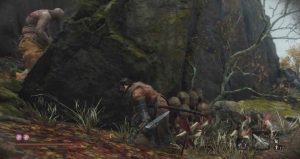
Now, grapple onto the beam and over the gate. Over this side, there are two more smaller enemies. Continue up the path and to the left, you will see a bunch of dogs. You will want to equip your firecrackers. Use them on the dogs and swing away, killing as many of them as possible. Finish off the remaining few once they have recovered. The item they were guarding was a Mibu Balloon of Spirit
Further up, you will find another three Monks. Along the main path, you will come across an Ungo’s Sugar. However, behind the rock to the right, you can find a large enemy. If you sneak around the rock you can backstab him.
Now, a Monk who throws bombs and a large enemy with a shield will come down from the main path. Equip you Axe Prosthetic Tool. Draw the large enemy back down towards the fire pillar. Hit him a few times with the axe to break his shield and instantly kill him. Now you can rush the bomb thrower. Just to the left, on a ledge, you will see another bomb thrower. Kill him and pick up the Gokan’s Sugar next to him.
Head up the main path and kill the three Monks, beneath the bottom of the stairs you can find an Ungo’s Sugar.
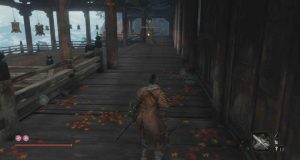
The next area has three of the enemies with dual bladed spears. However, you only have to fight one in active combat. You can stealth the other two. Two of them will be standing in the middle of the walkway back-to-back. The third is patrolling up the far end. When the one in the back has his back towards you, get close to the enemy looking at you to cause a yellow triangle. Then, move backwards. Once he is far enough away from the other one, you want to fight him where you killed the Monks.
When he is dead, wait for the far one to have his back towards you again. This time you can stealth up to the second one and backstab him. Move backwards and wait for the third to return to the middle and turn his back towards you. Head up behind him and kill him.
In the middle of the balcony, you can open the large door and sit at the bonfire.
Senpou Temple, Mt. Kongo – Main Hall
Now, from that Idol, do not interact with the table in front of you. Grapple up to the rafters and jump onto the Statue’s lap to pickup a Dragon’s Blood Droplet.
Hop down behind the statue to find a Lump of Fat Wax.
All the enemies in here are the un-killable Monks. So just run around them. On the right side from the Idol, you can pickup some Black Gunpowder and some Ungo’s Sugar.
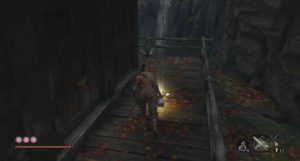
Now, head to the left to find a Pellet. Go down the corridor and leave the building through the open door. Go into the shrine.
Kill the Monk and small Giraffe enemies on the way down. Continue along the main path and down the drop.. When you have to crouch in the water, you can pick-up a Mibu Balloon of Spirit.
Kill the next set of enemies and grapple up. Once outside you can find some Pellets and some White Spirit Emblems along the left. Open the door to the Shrine to pick up the Senpou Esoteric Text. This will give you a new skill tree. Now, use your Homeward Idol to teleport back to the last Idol.
Now, you can interact with the table in front of you. You have to have beaten Genichiro Ashina in the Ashina Castle first though. This will take you to the boss fight of this area. You can see our guide for the Folding Screen Monkeys here.
Once you beat them you will get the Memory: Screen Monkeys, which can be used to increase your attack power and the Puppeteer Ninjitsu Skill, which allows you to summon a copy of an enemy after defeating them.
You will then awaken in a completely new area. Behind the hut ahead of you is a Pellet. Inside is a Sculpter’s Idol. If you talk with the girl she will give you the Mortal Blade. Continue to talk with her afterwards to receive some Rice.
We are going to take that to the old woman. Head to the Shugendo Idol and head backwards to the old woman on the cliff. Talk to her and she will tell you about flying a kite. Use you Homeward Idol and go back down to the first Idol. Speak to Blackhat Badger to tell him the idea the woman gave you. Now, equip your Puppeteer Ninjitsu Skill and deathblow the little troll enemy on the lower level. When you stab him hit R1 again to get him to hold the kite out. Finally, go back and talk to Blackhat Badger.
Before we leave Senpou Temple, we are going to use that kite that is now being flown. Head to the Shugendo Idol and go to the left of the old lady who asks for rice. You want to climb the large tree and go the branch at the top. We can use the kite as the grapple point.
Head across to find a Snap Seed on the platform. Now you are going to want to grapple along the edge three times, before landing on the platform and picking up a Scrap Magnetite. Inside the cave, you can find Blackhat Badger. If you talk to him you can conclude his questline. Just by him is a Sculptor’s Idol. From here on out I recommend doing this on your own as it is a cool scene. Just, skip a paragraph in the guide after you reach the lower cliff edge over the chasm.
If you are using this guide, head left and along the ledge to find a Mibu Balloon of Spirit. Hop down to the ledge below and walk along the beam. Below you is the Giant Serpent, you want to lock onto it, jump, and kill it. This will get you the Fresh Serpent Viscera which is useful later on.
You will find yourself on the other side of the bridge that the snake broke in the Sunken Valley. On your left, there is a Mibu balloon of Spirit and a Bundled Jizo Statue further up.
The final thing we need to do is head to Lord Kuro’s room in Ashina Castle. Talk to Kuro twice so that he gives you the Okami’s Ancient Text. This will tell you to go to the Ashina Depths. To conclude talk to Kuro once more, then Emma, and finally Isshin over in the tower.
That concludes everything for the Senpou Temple, Mt. Kongo area. Our walkthrough of the Ashina Depths area is now live. You can check out all of our Sekiro coverage here.