So, it turns out that killing the Guardian Ape in the Sunken Valley doesn’t actually kill him, for it is immortal. In Sekiro: Shadows Die Twice you have to beat him again. But, this time, he is in the Ashina Depths. You can reach it by heading through the first cave and past the mini-boss.
The Guardian Ape has two phases. The first is identical to his second phase in the Sunken Valley fight. During The Second Phase, it will spawn in another Ape, albeit a weaker one.
Guardian Ape Boss Guide
This phase is identical to the one in the Sunken Valley. I have copied my tips from there as you should use the same strategy. Bring your Firecrackers Prosthetic Tool with you. You are also going to want to have completed the Senopu Temple, Mt. Kongo area, to get the Mortal Blade.
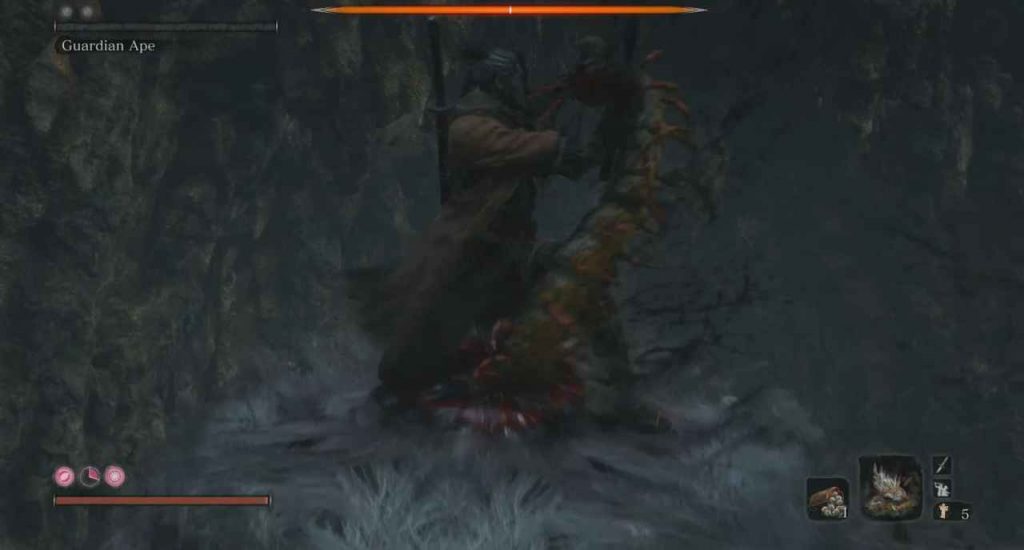
One note, it seems to raise its sword up, twisting it more often here. For this, you want to deflect it as it lands, stunning the ape and allowing you to get some hits in.
Other than that, there is not much time to get hits in and he has a lot of attacks that force you to run away. There are two ways to end this fight. You can fill the posture bar up as usual. However, if you lower its health to nothing it will stagger allowing you to do a deathblow and finish the fight. I recommend the latter and attacking only when it is safe.
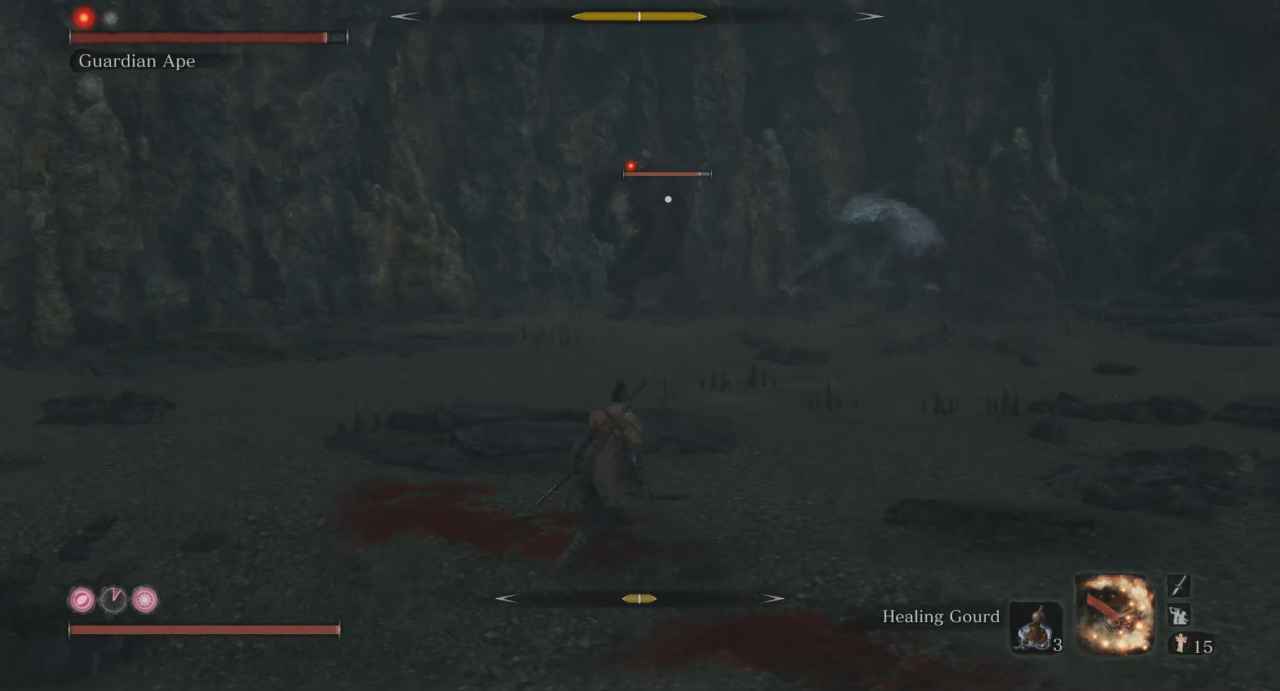
If the perilous symbol appears and a vortex-like effect appears, you want to back up a lot. This scream causes Terror and will instantly kill you when the bar is full. This attack can either be short or a couple of seconds longer.
If it jumps towards you, run around to the left in a large curve to avoid the sword attack and get a hit in.
If it holds the sword to its left lower body, deflect these four thrust attacks. If it raises its arm on the second attack dodge around to the right to get some hits in as it slams the ground.
If it jumps into the air run backwards for a second or two and then dash into it as it slams the ground for a few hits.
The other perilous attack it can do is a sweep. You will want to jump to the right this time so you can get some hits in.
It may also twist the sword and raise it straight above its body. Dodge this slam and any other slams by steeping to the side multiple time.
As I said, it is hard to keep its posture bar full in this phase. Therefore, learn the attacks and only head in for some hits when you feel safe. You will eventually get its health to nothing, allowing you to perform a deathblow, killing it for good.
Now, for the second phase, it will run over to the rock he was resting at before the fight started. Use this time to get a good five or more hits in. it will then spawn in his buddy, a smaller, less powerful ape.
For this phase, the first goal is to kill the ape it just spawned. This involves a lot of waiting and taking the fight slowly. For the most part, only one of them will attack you at a time. If that happens, focus on the one that is pushing you. For the headless ape use the tactics above.
For the other ape, you are going to want to dodge all of its attacks and use you Firecrackers Prosthetic Tool to stun it. Eventually, its posture bar will fill allowing you to kill it.
Just repeat this over and over, dodging attacks, focusing on one ape at a time.

When the second ape is down, just return to the fighting the headless ape in exactly the same way as before. Once it is dead, be sure to hit it one more time to perform another deathblow and sever its immortality.
That covers it. Our walkthrough of the Ashina Depths is now live. Check out all of our Sekiro coverage here.