Great Shinobi – Owl is the boss in the Ashina Castle (Invaded) of Sekiro: Shadows Die Twice. You can reach him at the top of Ashina Castle, where you fought Genichiro.
Note, you will only fight him if you choose to stay loyal to Kuro when talking with him.
Great Shinobi – Owl is a tough, relentless fight that requires a lot of endurance and patience. He has two phases that require you to deflect a lot, only attacking when you feel safe.
Great Shinobi – Owl Boss Guide
You are going to want to have brought at least 5 Healing Gourds for this fight and have the Firecrackers Prosthetic Tool equipped.
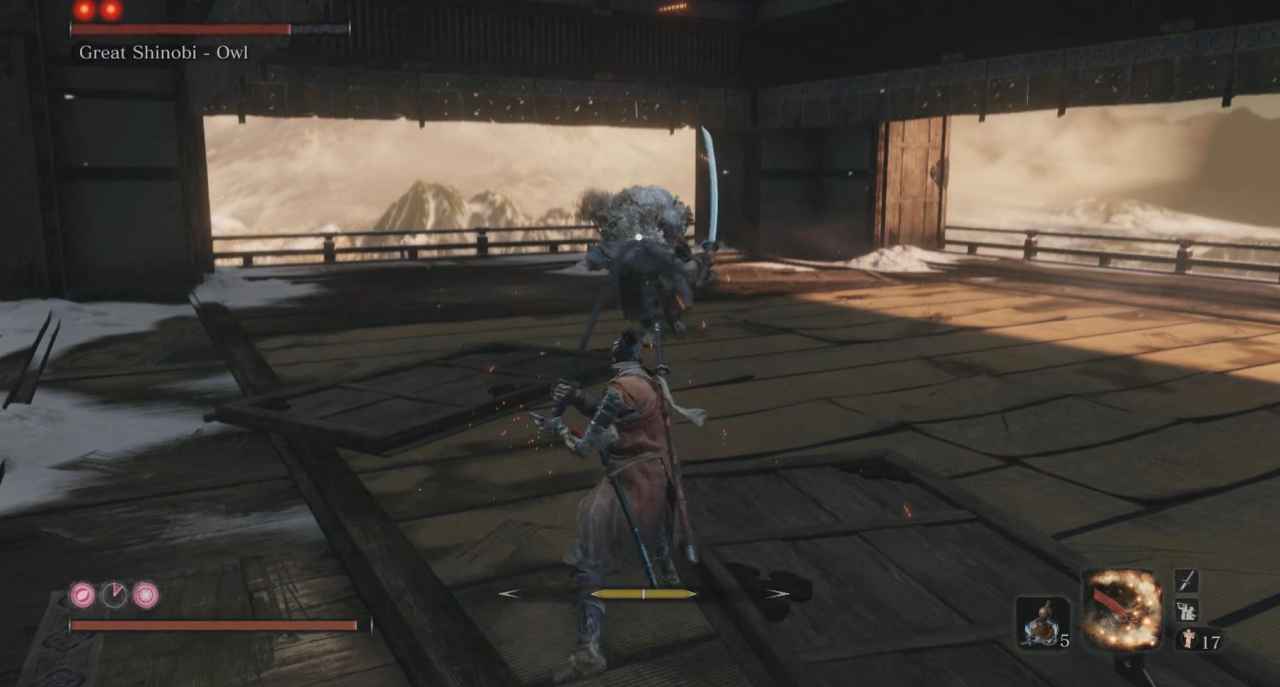
Let’s start with phase one. He has a standard three-hit sword combo which can be deflected. That combo can also be a one-hit or two-hit combo. It is unpredictable, as to how many attacks he will do. He also has a four-hit combo that this attack can turn into. You can tell it is the four-hit combo when he swings at you from his side. Nevertheless, all of these attacks should be deflected.
He also has a kick attack which can be deflected. From there, he will jump back and throw Shurikens at you. These can be dodged, by moving right or deflecting. He can then follow that up with a running uppercut two-hit combo. This attack can be deflected. Sometimes he will repeat this attack over and over again, which is really annoying. My best bet is to stay close to where he jumps to, stopping him from doing the follow-up sword attack
Owl has two other Shuriken-based attacks. Both of these are triggered when you are at a distance from him. If he throws two of them at you rapidly, he will follow it up with a strong side swipe that will stagger you. Deflect both of the Shurikens and the sword attack and dash in for a quick hit as he is recovering.
For his second attack, he will throw three Shurikens at you before jumping in the air and doing a ground slam. You can deflect the Shurikens and then dodge right twice to avoid his attack. Follow this up with a few sword hits. After a couple of times, it is really easy to distinguish the difference between these two attacks. And, you have enough time to dodge out of the way, even if you are not sure that he is jumping.

Occasionally, when he finishes a combo, he will throw a small little ball on the ground in-front of him. This ball will release a gas that stops you from healing for around 40 seconds. As you are learning his attacks, you should dodge this ball. However, once you feel confident you can just continue attacking as he throws it up in the air.
His final attack is a shoulder push, follow by a sweep. He will follow this up by throwing gunpowder, which will then ignite when he swings his sword afterwards. Deflect his first two attacks and then wait about half a second, then dodge to the right. This will allow you to avoid the explosion. You can also simply run behind you. However, this is tricky to do as there isn’t much time before the gunpowder explodes.
The key to this fight is to constantly stay up against him, deflecting and attacking when he is recovering from attacks. You will most likely end this fight by depleting his health. This drags the fight out to be really long. However, he blocks most of your attacks. Therefore, this is your only option. Once his health reaches about half, you should be able to constantly increase his posture bar without it dropping down.
Also, use your Firecrackers when he is recovering to get a few hits in here and there. Although, I would save most of your Spirit Emblems for phase two.
For phase two, Owl only gets two different attacks. When he jumps into the air, he will throw poison out this time instead of Shurikens. This can be avoided by dodging backwards.
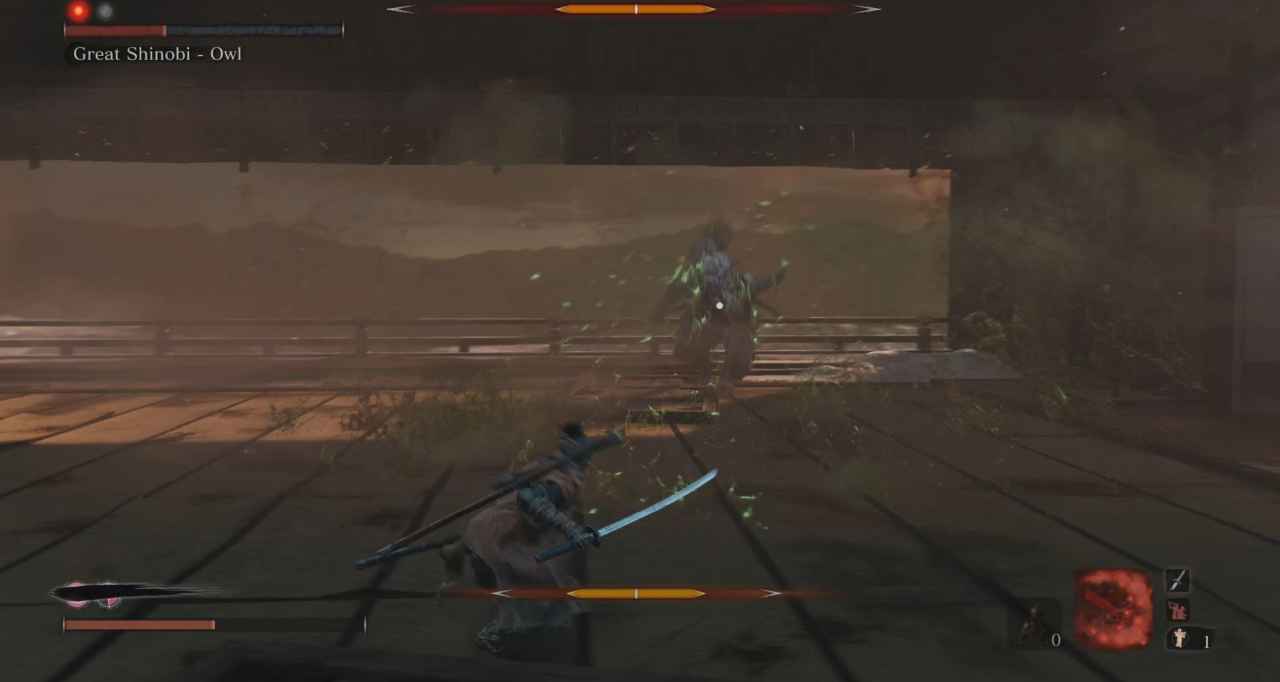
He will also lift his left foot and arm, before slamming down. This attack doesn’t do damage; instead, it releases a puff of smoke out into the field. Owl will come charging at you afterwards. The best tactic for this is to run backwards and re-lock onto him. From there, you are far enough away to predict his other attacks.
Finally, in this phase, he can reset his posture. I wouldn’t worry too much about this, as we are going to kill him by depleting his health.
Other than that, this phase is exactly the same as the first. Eventually, after a lot of tries, you will have him defeated.
Our walkthrough of the Ashina Castle (Invaded) is now live. Check out all of our Sekiro coverage here.