The Fountainhead Palace can be accessed after completing the Ashina Castle (Invaded) area and choosing to stay loyal to Kuro. You can travel to the Fountainhead Palace from the Palanquin at the end of the Ashina Depths area. This walkthrough will show you all of the items, enemies and every hidden secret in the area in Sekiro: Shadows Die Twice.
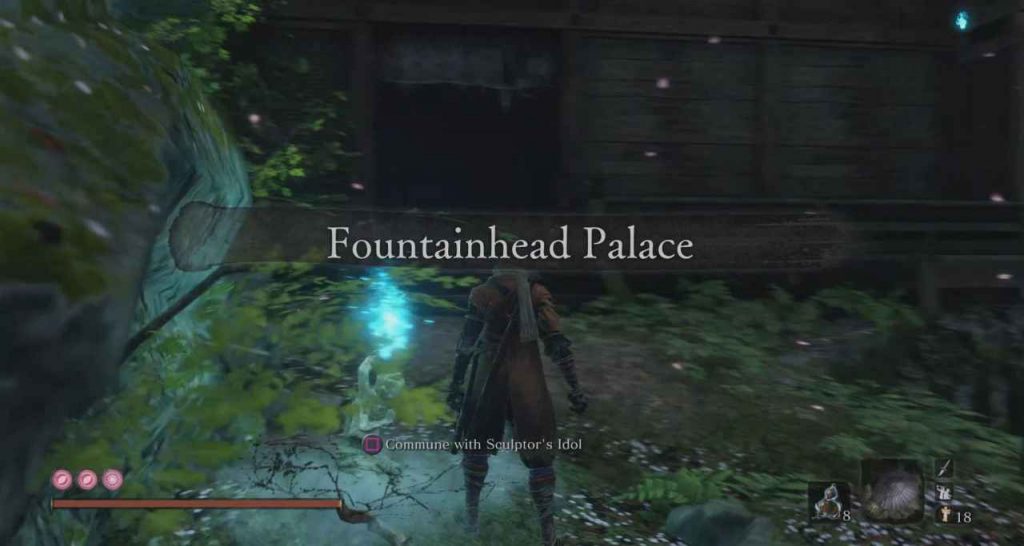
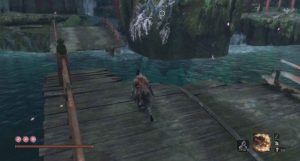
Fountainhead Palace – Corrupted Monk’s Bridge
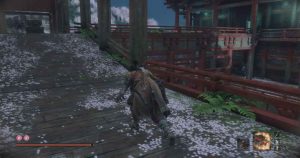
From where you spawn after the cutscene, you can walk ahead and activate the Sculptor’s Idol. Underneath the ‘thing’ that carried you up here, you can find a Pellet.
Now, if you head into the arena ahead you will fight the true Corrupted Monk. You can see our boss guide on how to beat the Corrupted Monk. After you defeat him, you will get the Memory: True Monk, which you can use at an Idol to increase your attack power. He will also drop the Dragon’s Tally Board, which will increase the number of items you can buy in Memorial Mob shops
Activate the Sculptor’s Idol in the boss arena.
Fountainhead Palace – Vermilion Bridge
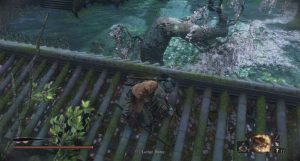
From the Idol, hop down the cliffs on the right.
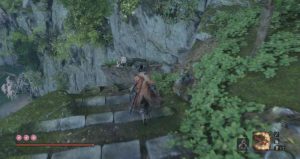
At the bottom, by a tree, you can find some White Spirit Emblems. We are going to clear out the buildings before we search the outside. You want to wait for the first enemy to have his back towards you. You can then pick-up a Mibu Balloon of Soul on the stairs.
This enemy can easily be backstabbed; however, if you do engage it in active combat, it only takes a couple of hits to take it down. Head through to the second room and backstab the enemy, along with collecting the White Spirit Emblem.
Hop outside and around the wall to collect a Light Coin Purse. After that, head back inside to where you killed the second enemy.
Behind the screen at the opposite end of the room, you can kill another enemy.
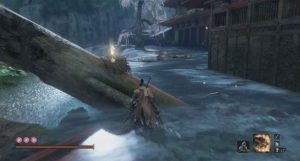
The next couple of building has some of the main grunt-type enemies in this area. Make your way up to the middle roof of the large tower in-front of you. Loop all the way around the right side. On the tiling, you will find one of the enemies with a bow. Backstab him.
Grapple to the tree branch ahead and jump Deathblow one of the enemies patrolling beneath you. Then, hop back up to the branch and wait for both of the enemies to stop searching for you.
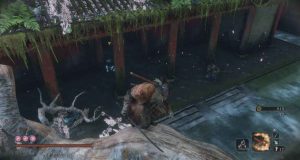
Once they have gone back to their original positions, jump on the other grunt-type enemy and run up and kill the squid-looking foe. Just next to where that enemy is you can pick-up a Mibu Ballon of Wealth.
Head around to the where you grappled up to the top of the tower. This time, head up to the top level. On your right, you can sneak behind the enemy sitting down, doing the same for one of the enemies on the left. Take the other one on in combat.
Now, drop down and kill the enemy on the bridge to the side of the tower. Here you can collect a Lump of Grave Wax.
Progress forward, until you reach the next big arena. Just on the roof here, where the wall intersects with the building, you can find a Ceramic Shard.
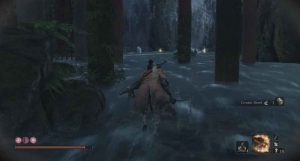
This next area has all the enemies you have seen so far, as well as some dogs. They have the same attacks as the wolves from earlier in the game, except for one new attack. That attack involves them jumping into the air and shooting out a bolt of lightning. You can step to the side to dodge it.
In the centre of this arena, you can find three of the dogs. Take them out first. Next to them, you can find some Ungo’s Sugar and a Heavy Coin Purse.
In the building on the left, kill the flute player on the left and then kill the dogs that wake up. On your left, you can pick-up some Adamantine Scrap. On the roof is a couple more grunts. However, you don’t need to kill them. Head through the room and across the bridge to kill the other three dogs.
To the left of that bridge, there are three more dogs, with an Eel Liver on the ground. Just up from there, you can find two more dogs guarding a Yashariku’s Sugar. Head through the gate and activate the Sculptor’s Idol.
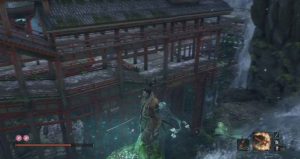
Fountainhead Palace – Mibu Manor
The Mibu Manor is a clustered place, with a lot of enemies. Therefore, in order to maintain stealth and stay alive, there is a specific route you want to take.
After heading inside, hug the wall ahead and stealth kill the Flute player who walks by you. Ahead, you can speak to a woman twice to get some lore.
On the left of this room, you can pick-up a couple of Bite Downs. We are going to stick to the left side of this area for now.
Wait for the enemy on the bridge to turn away from you. Head left to kill the enemy looking over the water. In that water, you can pick-up an Ako’s Sugar.
Head back to that enemy on the bridge, kill him, and pick-up the White Spirit Emblem by the tree. Now, we are going to head into the set of rooms on the left. You can sneak behind the grunt enemy. However, once you do, run to the wall and dash out to kill the Flute player as quickly as possible.
Next to where the enemy was sitting, you can find an Eel Live. There is an enemy on the outside that we will fight later on. Head down the corridor where the Flute player was. Down here there is some Yellow Gunpowder.
Head back to the bridge. The next room has an enemy standing still and two grunts patrolling with one of the Flute Players. If you stick to the left wall you can grapple to the ceiling above.
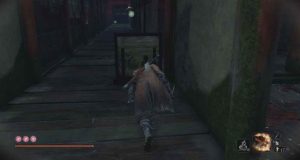
Walk just ahead and drop down into the room with the single enemy. Wait for the patrolling enemies to pass by and kill the enemy standing still. Head back outside and grapple up to the ceiling again. When the patrolling enemies walk by, jump onto them and kill them.
Head down to the end of the corridor and pick-up some Divine Confetti. Inside the room where you killed the single enemy, you can collect a Lump of Grave Wax.
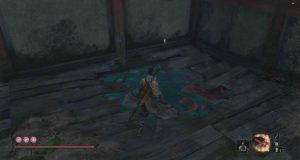
In the lake area, you can find three of the Flute Players, with a couple of grunts in the building next to them. Sneak behind the first Flute Player and kill the two grunts that come out. Then, head into the lake and kill the two Flute Players. Finally, kill the last squid-looking creature that is in the building.
By the tree in the lake, you can find some White Spirit Emblems and a Pellet. In the building, you can find some Adamantite Scrap and a chest.
On the left of the building, there is one more Flute Player and another grunt. There is one more Flue Player in the gate ahead. However, if you look in the corner to the left of that gate, you can see a hole in the floor.
Swim through and into the other room to find three Treasure Carp Scales and a Water of the Palace. Through the gate, you can activate the Sculptor’s Idol.
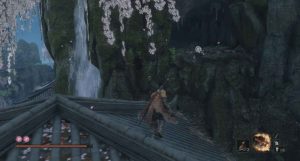
Fountainhead Palace – Flower Viewing Stage
Head behind the tower on the left to find some Divine Confetti. Grapple up to the roof on top of the room you were just in. Loop around until you are on the roof of the building left of where the enemy on the bridge was. You can find a few grunts along the way.
In the corner, you will see a mini-boss come out of the arena ahead.
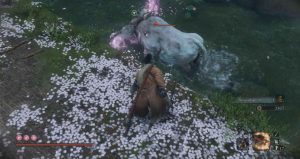
In order to kill the Sakura Bull of the Palace, you will need a pacifying agent in-case you get hit. I am not sure if you need to use a Divine Confetti to kill this enemy. However, I did and I managed to kill it using only one. You can now buy them from vendor’s if you run out.
Dodge its attacks and use your Firecrackers as it is charging to stun it. Eventually, you will kill him and get a Prayer Bead, as well as the ‘A Beast’s Karma’ Skill. This will increase the amount of Spirit Emblems you can hold. In the arena, at the back, you can find some Adamantite Scrap, a Yashariku’s Sugar, and a Bulging Coin Purse.
Head back and rest again at the Idol.
Head across the bridge. Once the Great Colored Carp has destroyed it, grapple across to the branch on the other side.
Jump down to the left and collect a Mibu Balloon of Soul in front of the door. To the right of that, you can find another one.
Head around the building to the left and grapple up to the level above. Kill the grunt standing on the platform. On the roof of the building you were next to, you can kill another grunt.
Head back to the waterfall and grapple up to the walkway above. Kill the two enemies up here. Grapple to the overhang ahead, turn around and grapple to the roof ahead. Up here, you can find some Gokan’s Sugar.
Jump down to the level below and kill the two grunts. Behind you, you can find a couple of dogs by the waterfall and an Eel Liver.
Hop down to the level below and kill the two grunts patrolling. Now, go up the stairs and kill the two enemies standing here. Then, kill the other three enemies further up this platform. Beneath this platform, up by the waterfall, you can find some Ceramic Shards. Loop around to the next waterfall to find some dogs and two Mibu Possession Balloons.
Head back to the middle platform and kill the couple of enemies on there.
Loop around and under the platform ahead. Stick to the front of the area, following the water, and continue around to find some White Spirit Emblems and a few dogs. Keep following the water; in the back, you will find a Scichimen Warrior. You will want to apply a Pacifying Agent every 30-40 seconds and a Divine Confetti. Take him on in exactly the same way as the other Warrior’s you have faced already.
Once you kill him you will get a Laps Lazuli. This is a high-end upgrade item. It will allow you to craft some of the higher-end Prosthetic Tools. You can also find a Bundled Jizo Statue behind where he was standing.
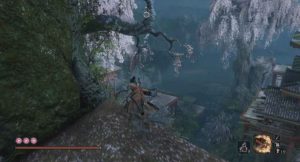
Climb up the rocks on the left and jump to the branch. Head up to the top level of this area.
The door up here is closed. So, head down the stairs and pick-up the White Spirit Emblems in the middle of the walkway. Ahead, you can find two grunts.
Go back to where the paths split and on the right, you can find some Pellets.
Jump up to the overhang roofs of the walkway you are on. On the left side, you can hop to the cave. Inside, there are five lizards you can kill. Jump down the other side and pick-up the Divine Confetti on the cliff, in front of the building. To your right, you can find a Sculptor’s Idol and Pot Noble Koremori. Here, you can buy items with Treasure Carp Scales.
Head back through the cave and to the walkway. Beneath the walkway, you can find two grunt enemies. Hop down and kill them.
The next area has five enemies, which can be hard to manage. All of these enemies, bar one are standard grunts. The best tip is to split them up and use Firecrackers to stun them. One of the enemies will drop a Dragonspring Sake.
Once they are dead, activate the Sculptor’s Idol.
Fountainhead Palace – Great Sakura
From this Idol, grapple to the large tree and kill the mini-boss at the end of the branch. Okami Leader Shizu is fairly easy to kill. Just run to him, wing a few times and he will die giving you a Prayer Bead.
If you land on the branch to the left of the mini-boss, you can find a Bulging Coin Purse. If you hop down to the base of the tree, you can find three dogs and a Light Coin Purse. Now, that the mini-boss is dead we can explore the water.
If you hop down into the water. Dive underneath the platforms that we haven’t been to yet. In the water here, you can find a Precious Bait which can be used later on.
If you dive further down and follow the path carved out by the rocks you can find a Precious Bait along the right. In the hut, just above you can find a Light Coin Purse. In the building to the left, you can find some Precious Bait.
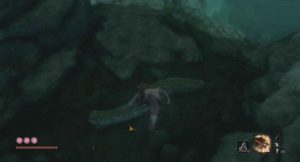
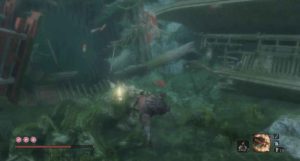
Keep on swimming down and you will find two Headless. You can kill them; however, they don’t drop anything special. If you focus on the Spirit Headless on the rock to the side, then focus on the regular Headless, you should be able to take them out by dodging their swipes and swimming around behind them as they recover.
At the bottom of this lake, you can find two Treasure Carp Scales and a Prayer Bead in the chest.
Now, travel back to the Idol ‘Near Pot Noble’. You want to hop into the water. In this body of water, you can find around 5 Treasure Carps. Swim around using circle and kill them as you lunge towards them.
Beneath where you first hop in, you can find some Scrap Magnetite and a Light Coin Purse. Just ahead is a Red Lump.
Swim along further, to the open area, past where the Headless where and pick-up a Lump of Grave Wax just next to a hut. In a hut opposite that, you can find three Treasure Carp Scales. Along the right, next to the Manor we went through earlier, you can find some Adamantite Scrap on a submerged roof. Back towards the starting location here, you can find some more.
Now, you want to head down the open path in this area. Lying at the entrance, you can find some Ceramic Shards.
As you head down the opening, you will see the Great Colored Carp swimming by. We can’t kill it just yet. So, swim to the bottom of the area and collect the Light Coin Purse. Now, swim back up and enter the building ahead.

Once through, head up the cliffs and activate the Sculptor’s Idol.
Fountainhead Palace – Palace Grounds
Head inside and kill the squid-looking creatures. The door on the left can be opened, which will lead you to the walkways from earlier. Now, head to the right and pick-up the Gourd Seed from the chest.
Open the door ahead and head left. You can find a couple of lizards and a Mibu Balloon of Soul at the base of the waterfall.
Grapple onto the tree and up to the cliff ahead. Go up the stairs and kill the three grunts. Halfway up the next flight of stairs, you can find a Dragon’s Blood Droplet off to the left.
Activate the Sculptor’s Idol and head up the stairs and pray.
Now, you will start the boss fight with the Divine Dragon. You can see how to beat him in our Divine Dragon boss guide.
Once you defeat it, you will get the Divine Dragon’s Tears, which is needed for the story, and the Memory: Divine Dragon, which can be used to upgrade your attack power.
You will be transported to Kuro’s room. Talk to Emma a couple of time to get the Secret Passage Key.
Before we conclude our time in the Fountainhead Palace, travel back to the Palace Grounds Idol. Go through the building and out of the exit on the right. Do a U-turn and grapple onto the roof. On the left side, as you reach the edge, you can grapple to the branch.
After that, drop down onto the building below, grapple across to the roof and kill the grunt. On the walkway, where you are standing, you can find one dog, with another below you, and another off in the corner.
If you drop down to the lower level, you can find an Ungo’s Sugar. Up, next to the building in the back corner, you can find a dog and some Ako’s Sugar around the back.
Head down to the bridge to kill another grunt and find a Heavy Coin Purse. On the middle platform, you can find another Sculptor’s Idol. From here, you can kill the Great Colored Carp. You can see how to kill it here in our The Great Colored Carp Boss Guide.
That covers it for the Fountainhead Palace. If you head back to Ashina Castle, you will see that the place is on fire and in the middle of a war. A lot has changed in this final area of the game.
We will have our guide of Ashina Outskirts & Ashina Castle (Burning) up soon. For now, you can check out all of our Sekiro content.