The Corrupted Monk is the second boss in the Ashina Depths area of Sekiro: Shadows Die Twice. You can reach him once you have passed the Guardian Ape boss fight here and the Village.
This boss is a relentless attacker and requires pitch-perfect deflection skills, as well as a lot of patience.
Corrupted Monk Boss Guide
The Corrupted Monk only has one phase. However, it is a long, drawn out one. You are going to want to bring the Firecrackers Prosthetic Tool with you because they are incredibly useful.
As mentioned above, this boss requires a lot of deflecting. There is no quick way to fill up his posture bar; therefore, you may end up killing him either by depleting its health or filling said posture bar.
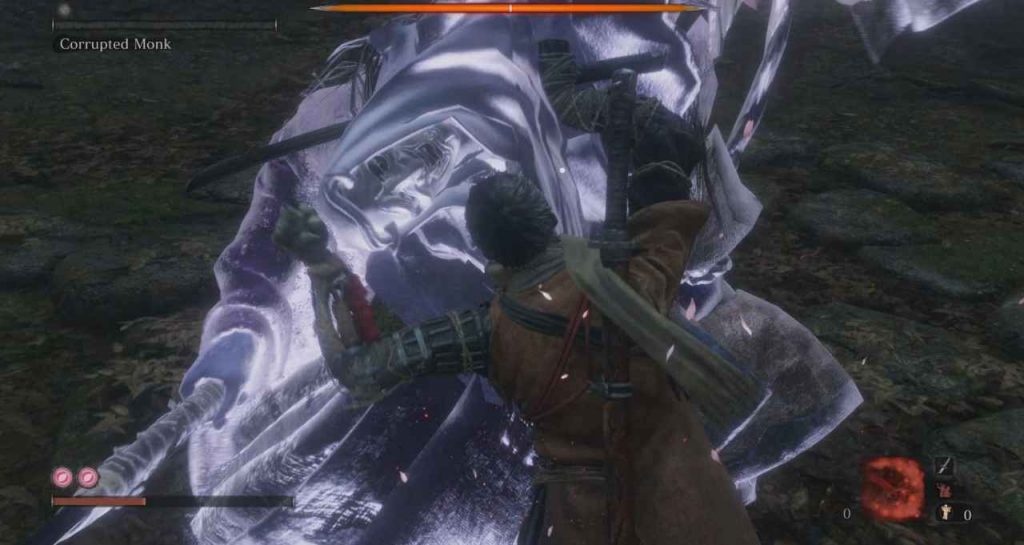
If he lifts his spear above his head and stomps his right foot, he is about to do a large spinning attack multiple times. If you are close and have enough posture, deflect all five attacks and quickly run in for a hit when he is done.
If you are far enough away and have enough room in the arena, run backwards quite a bit and charge in for an attack when he has finished.

Anytime he swipes with his sword from his side, you want to deflect.
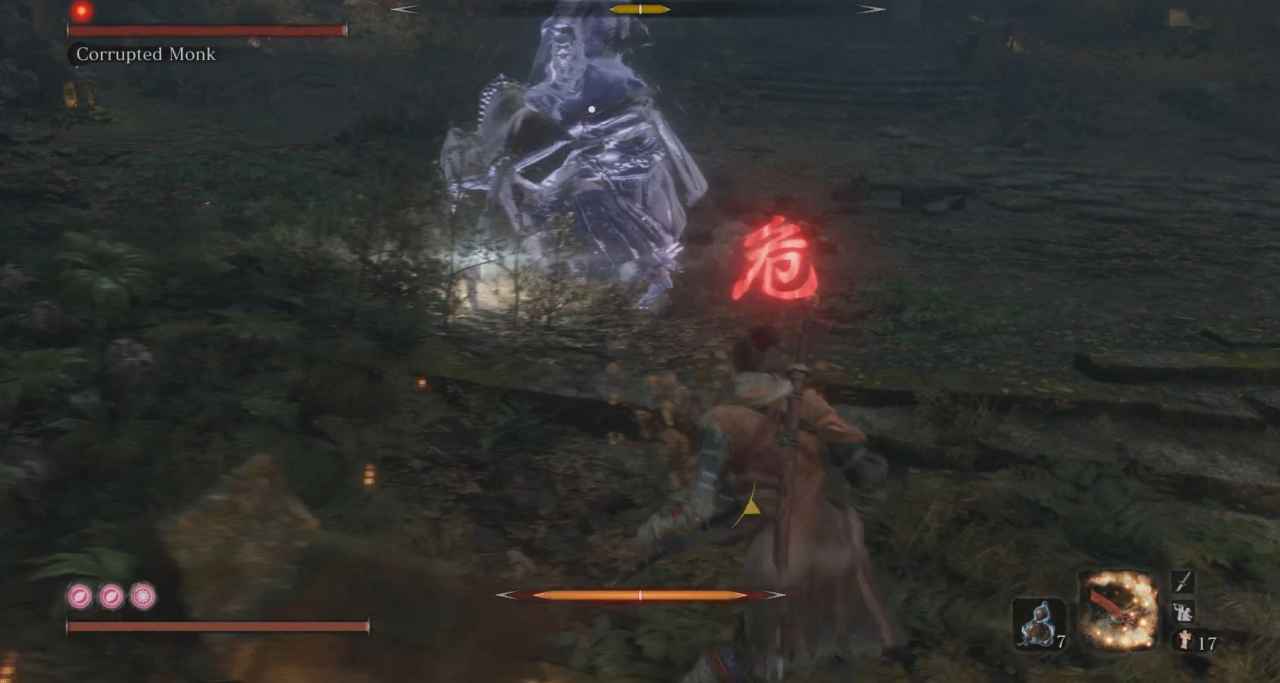
If he performs a swipe from his right side first, he will follow it up with an upward slash. He can then follow this up again with a Perilous sweep, which you will want to jump over. You can attack a couple of times when he has done this.
If the Perilous symbol appears otherwise, he is about to perform a thrusting attack, which you can hit circle on if you have the Miriki Counter skill. You should have it by now. He may follow this up with an overhead slash which can be dodged by moving to the left.
He also has a four-hit combo made up of three side slashes and a thrust. Deflect the three attacks, and move to the side to dodge the thrust or use the Miriki Counter. However, there is a very short window before this attack lands. So, I often found it best to move to the side.
If he jumps into the air at any point, you want to dodge around to the side, sticking close to him as you do so. You can land a couple of hits on him when he does this. This attack can also be deflected, but dodging is preferred.
If you are close to him, he may push you away. He will follow this attack up with a sweep. I recommend deflecting this; however, it can also be dodged by moving to the left. But, The timing for that is a little inconsistent.
During his standard sword attacks, if you deflect his uppercuts, he will switch to doing four or five more sword attacks. So depending on your posture bar deflect them or get out of there.
You are going to want to use your Firecrackers when he is recovering from attacks to get a few hits in. Also, if you are close enough, you can use them as he is prepping his attack where he spins five times to stun him out of it.

Overall, this boss is another endurance fight, similar to Lady Butterfly. The key to succeeding is learning his attacks and perfecting your deflection timings. It took me quite a while to get this guy as he is relentless. And, as you can see from the video above I only barely managed to kill him.
That is how to beat the Monk. Our Ashina Depths walkthrough is now live. Check out all of our Sekiro coverage here.