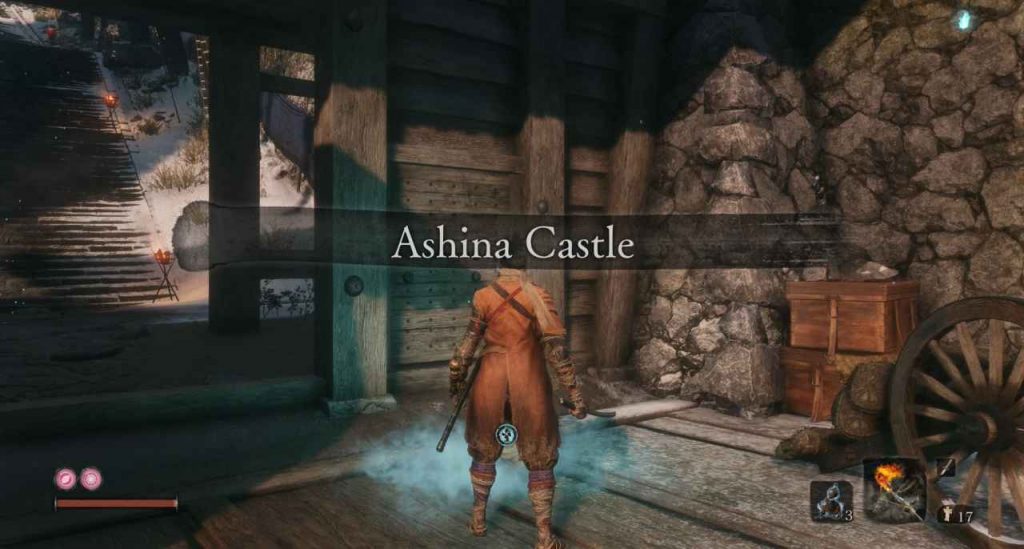
Ashina Castle is the second area in the main world of Sekiro: Shadows Die Twice. It starts off quite linear. However, it quickly can sprawls out into multiple other areas which can make it quite overwhelming. This area can be accessed after defeating the boss Gyoubu Onima in the Ashina Outskirts. This walkthrough will show you the locations of all the items and secrets to be found here.
Ashina Castle – Ashina Castle Gate
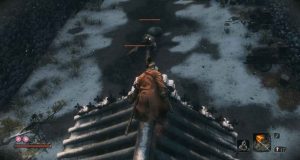
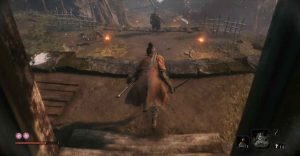
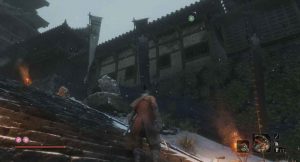
We will start off from the Sculptor’s Idol in the boss arena at the end of the Ashina Outskirts. Open the large gates and head up the path. Rush the gunner and kill him.
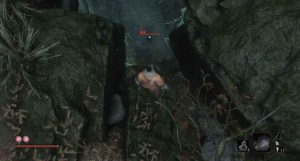
Now grapple onto the tree branch hanging off the rock to your left. Across the way, you will see an item, which happens to be some Ako’s Sugar. Make a mental note of that for later.
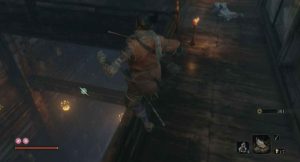
Head back over to where you killed the gunner. Grapple up to the gate and head to your right. By the small set of stairs is a gunner and three wolves. Take the wolves out and then rush the gunner. Now move further into the right area. This area has three little dwarf creatures, two bu the far tree and one hiding behind the closest one. Equip the Axe Shinobi Prosthetic and sneak behind the dwarf creature on the left.
Do the same thing for one of the other creatures. Use your axe to break the shield of the other one and kill him. By the tree, you can pick-up some Pellets. Head back to the main path and take a left this time. You will see a Ceramic Shard just before two more enemies.
Kill those two enemies in whatever way you want to. From there, a gunner will pop his head out from ahead; murder him as well. The next area has two grunts and two hammer-wielding foes. The first grunt can be taken out from the grass. You are going to want to sneak up behind the Hammer dude and stealth attack him from behind. You will get noticed by the other Hammer dude; however, if you are quick enough you can get behind the one in the grass and kill him instantly.
Wait for the second grunt to come close and kill him. Now for this hammer-wielding foe, I suggest running back to the previous area, to ensure that it loses your presence. Once that has happened, head back and sneak around behind him to stealth kill him.
Now, we are going to get the item we saw earlier from the cliff. Head back to the passage you went through before this area. While facing the area you just fought the enemies, hop over the wall on your left. On the other side is the Ako’s sugar. Now stick to the left side and you will find a Fistful of Ash next to a tree.

Behind you will be some Scrap Iron, which can be used for Prosthetic Tool Upgrades
Now follow the path forward and grapple up to the balcony and then the tower on your right. Up here is a Light Coin Purse. Jump back down and kill the two enemies.
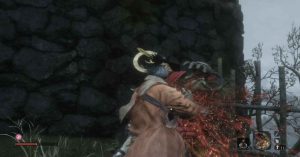
The next area has three enemies and one mini-boss. Stealth kill the first one from behind and use a Ceramic Shard to pull the other two closer if possible. You want to stay at a distance as the mini-boss will spawn when you get near them. After they are dead, or most of them are dead, head up the path. This will cause the Blazing Bull mini-boss to come rushing out.
Now, I don’t really have a strategy for it, other than jump and dodge his low charges. Also, bring your Firecracker Prosthetic Tool and use it as much as you can, so that you can keep the bull as still as possible. Once that is done you will get a Prayer Bead and the Shinobi Medicine Rank 2 Skill. The latter will increase the amount recovery items heal you.
Its attacks feel inconsistent and I couldn’t get a pattern down, so I just attacked when and where I could.
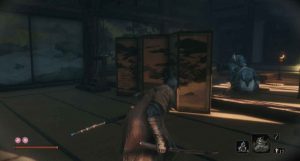
You can talk to the woman ahead for a bit of lore. Just next to her is a Sculptor’s Idol.
Ashina Castle – Main Gate Part 1
From this Sculptor’s Idol, travel back to the Ashina Castle Gate Idol and go see Tengu. Here you will complete he request he gave you. In return Tengu will give you the Ashina Esoteric Text, which will unlock the Ashina Style skill tree. Now, head back to the previous Idol.
Here is where the Castle gets complicated. There are four possible directions for you to go right now. The first place I recommend you go is to your left, jumping over the gap next to the woman.
Inside the building on the left is a Light Coin Purse. Head through the gate and kill both of the guards on the bridge to get the Gatehouse Key, which is used later on.
Grapple up to the next gate and you will see some enemies below: three wolves and a large enemy with a bell. That bell-wielding foe is an absolute pain to fight in active combat. So, run past him and into the room behind. The wolves will follow you, so kill them easily. However, wait for the large enemy to lose sight of you and return to his original position. Now, you can sneak up to him and backstab him. Killing him will drop some Scrap Magnetite, which is used for upgrading Prosthetic Tools.
Behind him is some Black Gunpowder. Inside that room on your right is a Heavy Coin Purse. Continue on to find a Sculptor’s Idol, as well as a Memorial Mob shop. The path down leads to the Abandoned Dungeon area. Instead of heading down there, go back to the previous Idol.
This time, head through the main gate and interact with the Remnant in front of you to get some lore. Head to your left and open up the doors. Open up the second set of doors straight ahead to find some Scrap Iron and a Mibu Possession Balloon underneath a tree.
Now drop down and pick-up the Pellet on the ground. Open up these doors to unlock a new Sculptor’s Idol. This is the Ashina Reservoir area where you started the game; however, it has changed quite a bit.
We are going to do this section now, before continuing at the Main Gate.
Ashina Castle – Ashina Reservoir
Dead ahead are two grunts and some wolves. Take them out quickly and easily. Now use your grapple to reach both of the branches on the left side of this area.
Climb the wall and jump onto the enemy who alerts everyone. From there, kill the gunner on the same level as you. Enter the gatehouse on this platform as you now have the key. Inside is a Heavy Coin Purse and the Gyoubu’s Broken Horn Prosthetic Tool, which is in the chest. That tool will grant you a spear that can pierce the enemy’s defences and deal posture damage.
Head underneath the gatehouse to pick up a Ceramic Shard. From there head back to where you jumped on the enemy.
Go left to find the area where you first emerged at the beginning of the game.
Here you can talk to the man: Jinzaemon Kumano. He will ask you if you have heard the chime of the bell. The only option you have is to say no for now.
In the area below, you have a tough mini-boss. I recommend coming back here once you have fought the boss of this area, as he is virtually impossible to defeat at your current attack level.
Once you are ready to defeat him head up the path. Do not fall down, instead look for an opening in the rocks. If you jump and hit R1 when the red circle appears you can take off one of the healthbars straight away.
This fight against the Lone Shadow Longswordsman is extremely challenging. For once, you want to dodge more than deflect in this fight. He has a few standard sword attacks that you can deflect. However, whenever he raises his foot dodge backwards. Dodge again if he starts performing kick attacks. Perilous kick attacks can be dodged by stepping sideways. Similarly, if he jumps into the air you want to dodge out of the way.
If he crouches down and a perilous symbol appears you can hit him to break him out of the attack. He will also perform a long-range sweep which can be jumped over. Overall, this fight is all about dodging. The cramped arena can cause some camera issues. If this happens, just deflect and re-adjust.
You do want to attack him as well though, especially when he jumps in the air or starts kicking, as you will be able to whittle down his health. Defeating him will grant you some Scrap Magnetite and a Prayer Bead.
Now, head through the water and grapple up to the platform above to pick-up some Scrap Iron. This path will take you back to the Abandoned Dungeon, which we will do later on.
Head back up to the Gatehouse to continue completing this section. Head underneath it and stealth kill the enemy watching over the arena. From there, head down the slope and kill the one enemy.
Head back up to the Gatehouse and kill the Gunner down the stairs. Next to him is a Fistful of Ash. On your left is a spear enemy. Either deflect an attack or use the Miriki Counter on a thrust attack.
The arena below has two large enemies. You will want to stick to the gate on the right of this arena. Hide behind the blocks in the middle of the arena.
When the far enemy has his back turned towards you, sneak up behind the close enemy to stealth attack it. When the just turns his back do the exact same thing. Finally, on your right is a grunt you can kill.
A Pellet can be found just below the platform where you picked up the Fistful of Ash. Now stick to the left side of the cliff and hop onto the platform below.
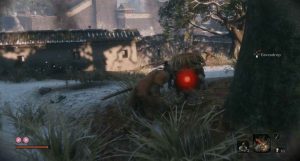
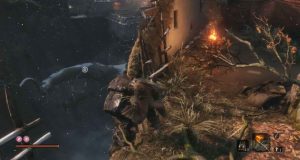
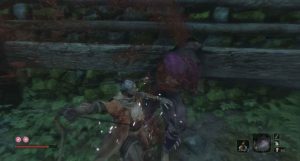
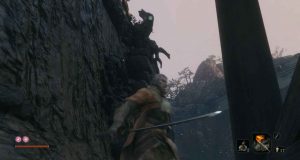
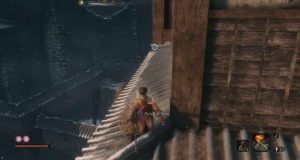
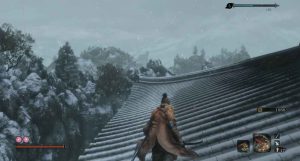
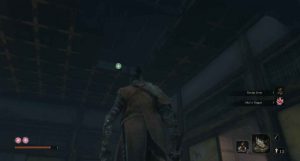
Follow the path around and climb up to the Moonlight Tower, the exact same way as you did in the tutorial. In the tower, you can interact with a Remnant. The enemy outside is another mini-boss. Once again I recommend coming back to him once you have beaten the boss of this area. To the left of the stairs from the image below you can find some Scrap Iron next to the tree.
If you are ready to take him on here is how to defeat Shikibu Toshikatsu Yamauchi of the Seven Ashina Spears. Bring the Firecrackers Prosthetic Tool with you as it will stun him for a few seconds. You will want to fight in the arena to the left, where you picked up the Scrap Iron.
Any thrust attacks can be countered using the Miriki Counter Skill, which you should have by now. Yamauchi has a long reach and can hit you even when you think you are safe. Always start the fight by sneaking behind him and stealth attacking him. Trust me, you don’t want to do two phases with this guy.
If you run back to the arena mentioned above, he will almost always start off with a thrust attack that can be countered. Hit him two-to-three times before stopping to prepare for his attack. If he passes the spear between his hands and above his head, he is about to do a large sweeping attack. You can either jump over this or deflect it. This will usually be followed by a thrust attack which can be countered.
Any overhead slashes can be dodged or deflected. I recommend dodging those as you can get a hit in. Be sure to use your Firecrackers to stun him and get a few hits in. A good time to use them is when he is preparing the large sweeping attack mentioned above.
This fight is incredibly tricky to get down. It will likely require upwards of fifteen tries to learn his attacks and get the feel for him. Once you defeat Yamauchi you will get a Prayer Bead.
If you grapple to the top of this tower you can find a Bundled Jizo Statue on the walkway at the top.
Head back to the Sculptor’s Idol. We are going to take the left path this time. Continue along until you get to the branch shown below. Look across to your right to see a branch on the opposite wall. You can jump to it and hit grapple at a low point of your jump to reach it.
From there, head along the broken wall running below the bridge above you. Once on the other side grapple up to this point shown below.
Equip your Axe Prosthetic as there are more of the small imp creatures. Stick to the left wall and follow it around killing the first imp. You can stealth kill the second one. Just behind him is a Heavy Coin Purse and some Scrap Iron. Hop down into the shallow water below and kill the third and final imp in the corner, just underneath where the other two were. You can also pick-up a Mibu Balloon of Spirit. This increases the chance of gaining Spirit Emblems from enemies for a limited amount of time.
The door that you went through in the tutorial is shut. So, grapple, across the gap and onto the branch along the left wall. Head back along the broken wall and climb back up to the first branch we went to in this section of the Ashina Reservoir.
Travel back to the central Idol in the Ashina Castle.
Ashina Castle – Main Gate Part 2
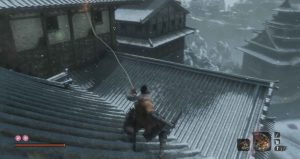
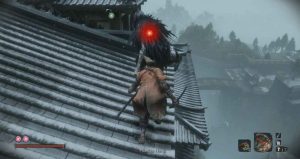
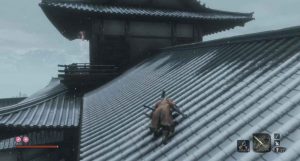
Now, we are going to tackle the right area of the tower. This area houses a lot of enemies, upwards of ten to be exact. To start head halfway up the central path and grapple up to the roof.
Hop across to the next one and then to the large rooftop on the left.
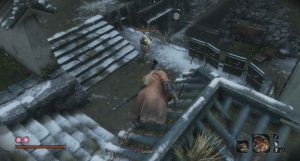
Below the edge of that rooftop is a Nightjar enemy. They attack with shurikens and are a real pain. Hang from the ledge and drop down to stealth kill it.
Now, head in the direction it was facing, you will see another Nightjar enemy on the rooftop ahead. Grapple to the left side of it and stealth kill the enemy.
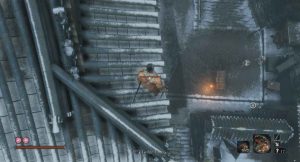
From there, jump down onto the small wall along the cliff edge and stealth kill the grunt on the higher platform.
This will likely attract a few more enemies, simply fight them up here. When they are dead, head up the small flight of stairs and kill the imp creature. Now, grapple back up to the rooftops and head to where you killed the first enemy. Stick to the right and head to the back tower in the centre.

At the top of this tower is another of the Nightjar enemies. Stealth kill him and then quickly hide behind the rooftop cover as two other enemies will start throwing Shurikens at you. Once they lose you, head back to the very first rooftop we grappled to. Below you and to the left should be four or five more enemies. Deathblow one as you jump and take on the rest in regular combat.
That is all the enemies in the immediate area down. We are going to go and collect the items now. So, head back to the area where you fought the three or four enemies after jumping down from the rooftops. Behind where the enemy was you can pick-up some Scrap Iron. Then, just to the left of where the enemy was, you can find a Fistful of Ash.
Where you fought the final group of enemies you can find a Ceramic Shard. Above it on the rooftop are more Ceramic Shards.
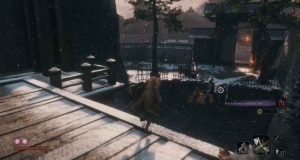
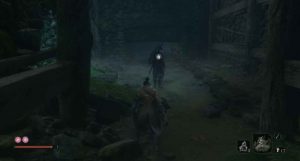
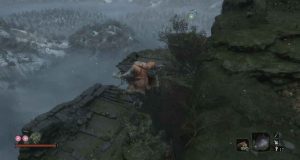
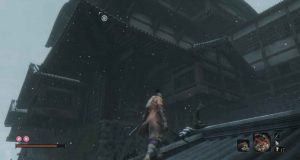
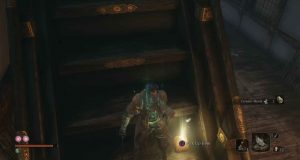
From the picture below, head up the stairs in the bottom and do a U-turn. Here you can speak to the man, say Yes to him to get the Nightjar Beacon Memo. Grapple to the rooftop directly above of him and climb the next one. Drop down on the other side to pick-up a Mibu Balloon of Wealth.
We are going to ignore the enemies in the middle for now. Instead, head up to where you killed the Moonjar enemy on the central tower in the back. This time grapple to the rooftop with the other enemies.
Up here, stick to the right to deal with both of them. Their attacks can be deflected, which is what you should do. If one of them is not moving much head in for a few hits. They can do an attack that spins a shuriken multiple times. For this, you will need to deflect multiple times. They should go down fairly quickly though. Now you will want to head along the rooftop.
In the distance, you will notice a kite flying in the sky. Believe it or not, there is actually an enemy on this. Once you hear the yelping from that enemy, you need to run in the direction you just came from as it will Kamikaze towards you. If you get hit you will almost certainly die. When it lands it will imbue its Shurikens with fire. Therefore, deflecting too much is not a good idea. You will want to dodge its attacks and land your own hits in to kill it.
When it is dead, head to the end of the rooftop and look up. You will want to grapple up above you after you jump. Up here is one Moonjar enemy to stealth kill.
From there you will want to grapple to the top of the rooftop where that enemy was just looking. Drop down on the other side and kill the enemy.
Head around the outer edge to kill the next Moonjar enemy and then walk forward to kill the next. You can find an Ungo’s Sugar up here. The final enemy is below you. Hop down to him and kill him from behind. You will then want to follow that outcrop to the corner. When on the corner you should get an exploding Moonjar’s attention. Run all the way back along the rooftop and grapple to avoid his blast.
Back down on that outcrop if you head just a slight bit forward you will hear the screech of the Kamikaze Moonjar again. Run all the way back along the rooftop to avoid his attack. Defeat him in the same way as the last one. This one will give you a Bite Down, which will remove the resurrection limit after using it. On that rooftop, you can find a Ceramic Shard in the nest.
If you look to your right you will find a grapple point.
Inside that window is a Fistful of Ash. Inside the chest is a Gourd Seed. Just past there is a Sculptor’s Idol.
Ashina Castle – Upper Tower – Antechamber
You can stealth almost the entirety of this first area. From the idol hug the wall directly ahead. Peak and wait for the enemy to get close enough to perform a stealth attack.
Open the doors ahead and sneak up behind the Katana-wielding enemy walking along in-front of you. Then do the same for the old lady with the candle. Head through the entrance she walked in front of and hug the wall on your right. Once the enemy walks past perform another stealth attack.
There are two more enemies in here. Stealth attack one of them and fight the other in combat. In terms of attacks, you have a few options. Try to use a mix of deflects and attacks. When the Perilous symbol appears he is likely to thrust attack you, so dodge out of the way.
Once he is dead head into the room where the first enemy came from to pick-up a Pellet.
Back in the room with the two enemies, you can collect some Scrap Iron and an Ako’s Sugar. If you hug the mural against the wall, you will reveal a hidden room. Inside is a Light Coin Purse and a Prayer Bead.
Head back out and grapple up to the ceiling to find a Gachiin’s Sugar.
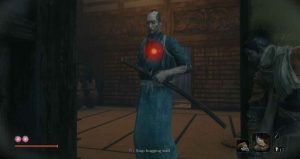
Head along the ceiling and drop down to kill the grunt. Immediately, turn around and kill the old woman in the corner. Now you will have three Katana enemies on you. So I highly suggest jumping back up to the ceiling and waiting for them to lose sight of you.
Once that has happened you can jump down and fight the sole Katana enemy in this room alone. Once he is dead open up the doors in that room to save you time later on. Through the corridor, you will find the other two enemies. You can stealth attack one and kill the other normally. On the floor next to them is a Ceramic Shard. On the staircase is a Mibu balloon of Wealth.
Up the stairs and directly ahead is a Remnant. To the left is a Gokun’s Sugar with a Sculptor’s Idol just past there. However, do not respawn the enemies yet. You can interact with the Idol though. Now, head down to the open walkways, just ahead of the last Sculptor’s Idol. The large gap in the middle actually has a beam you can grapple to.
Once on the beam drop down onto the bottom floor. You will see three grunts and a katana enemy. Instead of heading that way, go in the opposite direction. You will open the gate at the top of the main path. We are now going to take on the mini-boss here and the other enemies. Run up to one of the grunts and quickly slash at him. Once he is dead run all the way down the stairs and further back until the archers and the mini-boss general loses you.
The tactic here is to grapple up on the right side rooftops until you are above that set of enemies. Kill all of the grunts before using a stealth deathblow on the General.
With all the grunts dead you can fight the general in the exact same way as the others you have fought. There are no special attacks this one has. If you die, just travel to the main gate Idol and do the same thing.
Defeating him will give you a Prayer Bead. Inside the chest next to him is a Divine Grass.
Head back inside the large tower and kill the grunts with quick attacks before focusing on the Katana enemy.
In the room past them, you can find an Eel Liver, which reduces the amount of lightning damage you take. You can find a Gokun’s Sugar. In the chest in the centre is the Sabimaru Prosthetic Tool. This tool when installed will let you attack foes with a short poison-coated sword.
Head outside and use the branch to reach the elevated platform. There is nothing in the large body of water. Stealth deathblow the enemy with a spear and then kill his grunt too. You will find another Idol here.
Now we are going to take a diversion and go back up the Idol at the top of the tower.
Ashina Castle – Upper Tower – Ashina Dojo
If you open up the doors you can fight another mini-boss. This one is Jinsuke Saze of the Ashina Elite. He is actually really easy to defeat. He will almost always do a double slash. If you deflect both of these you can deplete his posture by half. So do this twice and his healthbar is gone.
Simply learn the timing and kill him with relative ease. Upon his death, you will receive a Prayer Bead. In the room on the left, you will find some Scrap Magnetite and a Pellet. On the altar behind him is an Eel Liver and a readable scroll. This will teach you how lighting mechanics work.
Head out the window and up the grapple points to start the boss of the Ashina Castle. You can see our full boss guide for Genichiro Ashina here.
Once that fight is over you will get the Bloodsmoke Ninjutsu Skill, as well as the Memory: Genichiro. After the cutscene talk with the woman and Lord Kuro downstairs. Talk with him until he gives you the Immortal Severance Text and just repeats the same thing over and over.
Along the right side of the area, behind some walls, you can find some Scrap Magnetite.
Underneath the stairs is the shortcut that will lead you back to the Dilapidated Temple if you hug the wall where the outline of a human is. Back at the Temple, you can talk to the Sculptor for some lore. And the man from Ashina Castle is also here as a merchant: Fujioka the Info Broker.
Now head back outside and across the rooftop to the tower shown below. Inside you will find Isshin Ashina. Talk to him and he will give you some important information, as well as an Unrefined Sake.
If you head down the stairs in this tower you will find a pellet, some more enemies and an Eel Liver. You can destroy the paper wall at the end of the corridor to open up a shortcut back to the main temple.

Now head back down to the Idol at the bottom of the tower: The Old Grave.
Ashina Castle – Old Grave
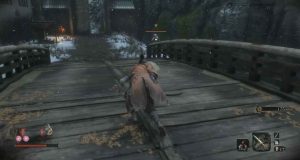
Directly to the left from the Idol, through the open gates you can find a Dragon’s Blood Droplet. Now, head back to where the grunt and the spear enemy is. Kill them and take a right through the gate. Cross the large bridge and kill the three enemies.
To the left, you will find a Mibu Possession Balloon. Head through the next gate and you will come across a large path with some small monkeys. There are no items here other than white spirit emblems in the centre of the path. The monkeys are easy to kill.
Inside the room ahead you will find a Mibu Balloon of Spirit. Up ahead you will find Tengu. If you have been paying attention both Tengu and Isshin called you Sekiro. So, it seems there is more going on with these two. There is a Sculptor’s Idol next to him.
You can jump across the gap and grapple to reach the Eel Liver on the other side.
Jump to the branch and down to open up the first Sculpture’s Idol in the Sunken Valley. We are going to head back up to the Old Grave Idol using the travel feature.
This time you will want to head right from the Idol. On the ledge, on the left, you will find a Gachiin’s Sugar. Grapple up to the roof of the building on your right and then grapple to the archer in the lookout tower. Stealth kill him and then kill the other two grunts beneath you.
A guy with a spear will then patrol upstairs, jump onto him to kill him quickly.
On your left at the bottom of the stairs is an enemy that will alert the others of your presence. Rush him to take him down quickly. There is one more enemy in a watchtower and three grunts to be taken out.
Once they are all dead you can head back to that set of stairs. Here you can pick-up a Ceramic Shard, Gachiin’s Sugar, Light Coin Purse, and a Fistful of Ash. Grapple up to the rooftop ledge to pick-up a Ungo’s Sugar. Inside this house is Blackroot Badger a merchant.
He has the Iron Fortress Prosthetic Tool which will summon an umbrella shield when it is installed. It is very useful and it can be used to deflect attacks.
Down at the very bottom of this area is some Black Gunpowder.
That covers everything in the Ashina Castle. However, whilst you are here, you should make a trip back up to Kuro’s Room in the Tower. There you can talk to Emma and Kuro to get some more information about your next objective. Kuro will give you a Fragment Flower Note and an extra resurrection thanks to the Sakura Droplet you have. You can also find the Gunfort Shrine Key next to him, which is needed for the Sunken Valley.
I hope this was helpful. We have a walkthrough of the Sunken Valley area. Our walkthrough of the Abandoned Dungeon is now live. You can check out all of our Sekiro coverage here.