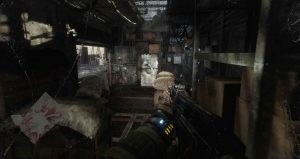
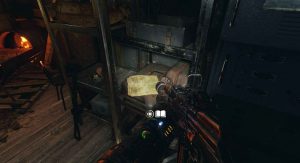
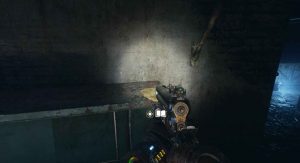
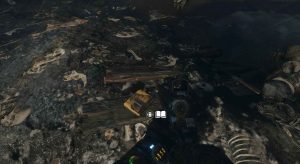
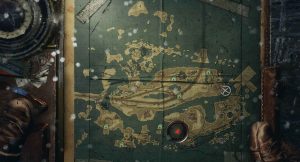
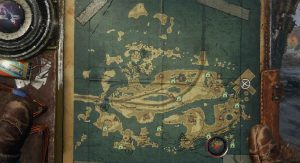
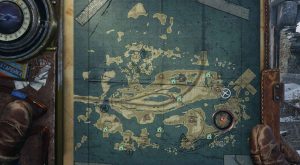
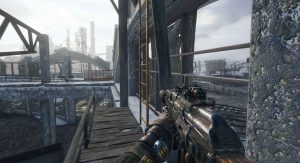
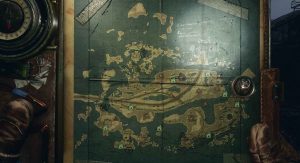
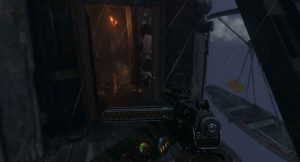
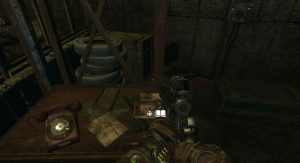
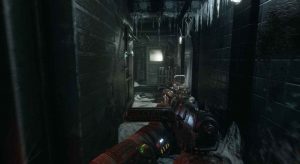
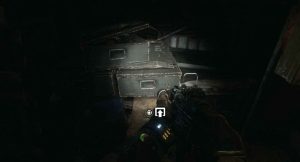
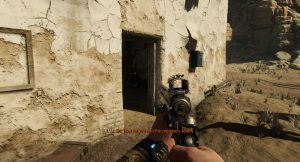
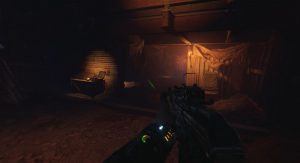
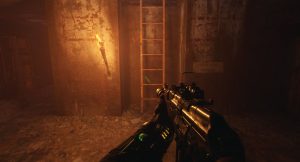
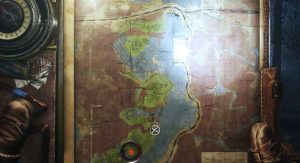
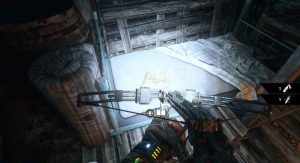
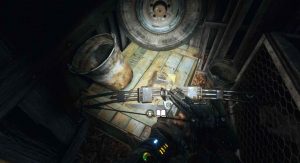
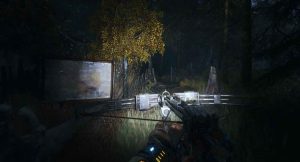
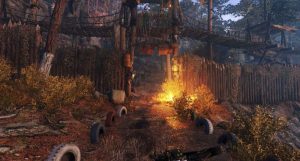
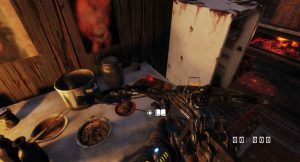
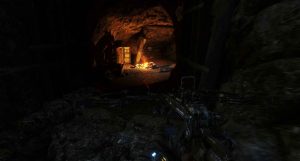
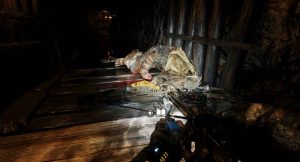
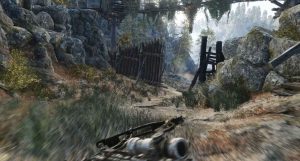
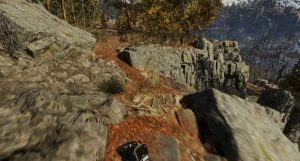
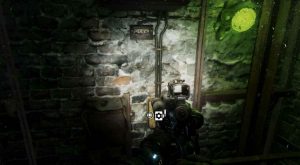
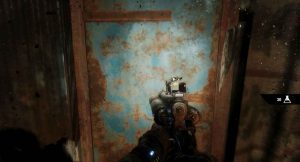
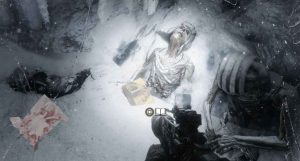
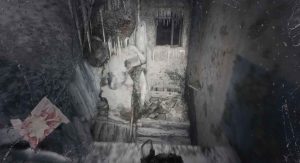
Metro Exodus is a large game and it is filled with optional collectibles for you to hunt down. Diary Pages offer glimpses into other people’s lives after the war. And, postcards are a nice piece of memorabilia from the various locations you visit.
However, these collectibles can be hidden away in dark corners of the game’s large and open maps. This collectible guide will save you a lot of trouble and time searching, showing the location of every diary page and postcard. Collectibles can be found across multiple playthroughs and the game does offer chapter select. The written guide can be found below this video guide.
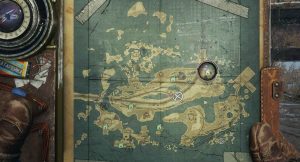
Below is a list of levels. Clicking on a level will take you to the relevant part of this page allowing you to easily navigate around:
Metro Exodus Collectible Guide – Moscow
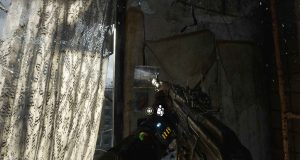
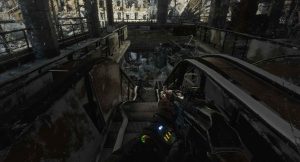
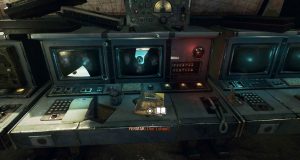
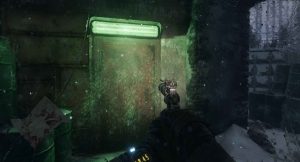
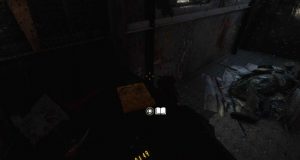
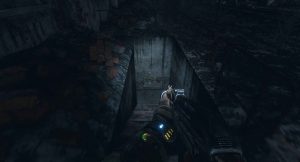
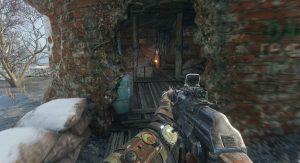
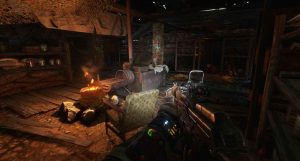
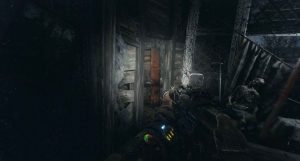
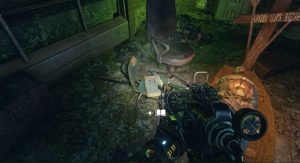
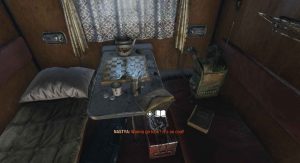
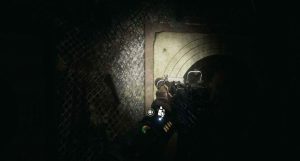
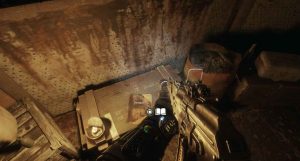
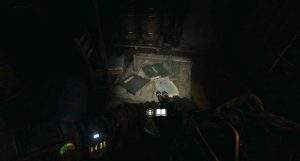
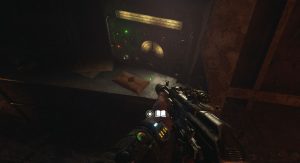
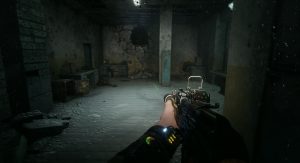
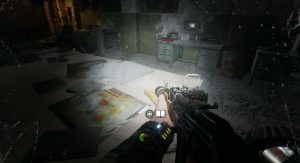
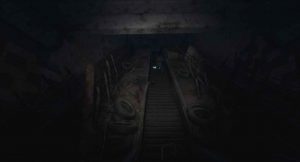
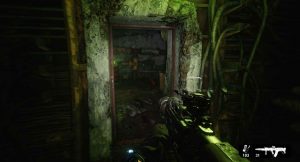
#1 – Early on in the level, you will reach a section of the Metro where you fight a few mutants. Once at this part of the tunnel shown below, look to your right.
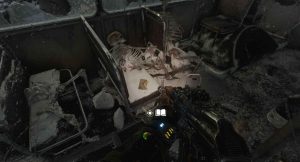
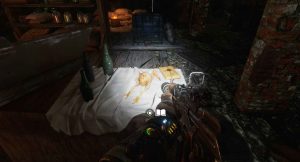
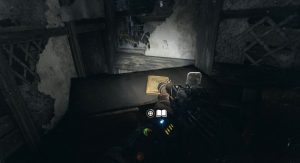
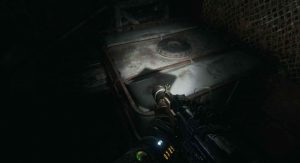
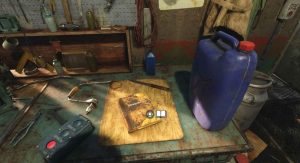
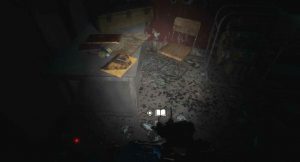
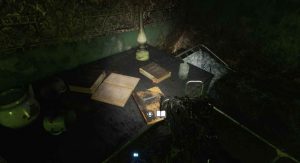
You will find the diary page on the table.
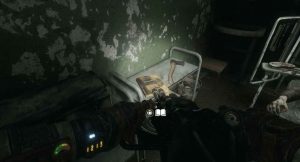
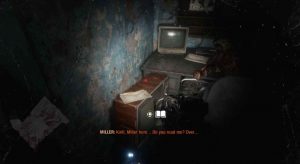
#2 – The second diary page can be found after the cutscene with Miller, Anna, and The Doctor. Follow the path carved into the environment and you will find the collectible on the first table on the right.
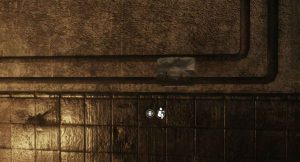
#1 – The first postcard can be found just after the diary page above. Once you turn right into the next room, look on the locker.
In the top corner is the postcard.
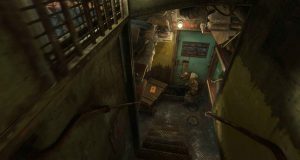
#3 – The next collectible can be found when you are on the surface with Anna. Once you head down the first flight of stairs, continue along the corridor instead of heading further down.
At the back of this room, next to the couch is the diary page.
#2 – From this collectible go back into the previous room, look to the right of the window to pick up the postcard.
#4 – The next diary page, which is a shopping list, can be found once you enter the mall section. After killing the Watchmen, look to the second room on the left. The body on the floor as you enter is holding the collectible.
#5 – From there, continue on and head down the escalator.
Once you enter the bus, look on the seat just to your right to find Shura’s Note.
#6 – The next page can be found after Artyom is pushed over the edge of a drop. It is just after you pick up the healthkit.
From the image above walk straight forward to find the collectible on a body in-between the two pathways.
#7 – The next collectible isn’t for quite a while. Once you meet back up with Anna and are in the Broadband Jammer Room, you can pick up the diary page from the centre of the console.
#8 – Once in the courtyard, make your way to the red door in the opposite corner.
Head through it to find the collectible inside on a table.
#9 – Once you meet back up with The Spartans and escape on the train, you will hijack the train which is chasing you. Once you jump through the window, head to the room behind you.
On a table, on the left side of the room is the diary page.
#10 – Continue up the train, until you get to the car with the mounted machine gun.
Walk past it and into the next train-car. Immediately, on your right is the last diary page of this level.
Metro Exodus Collectible Guide – Winter
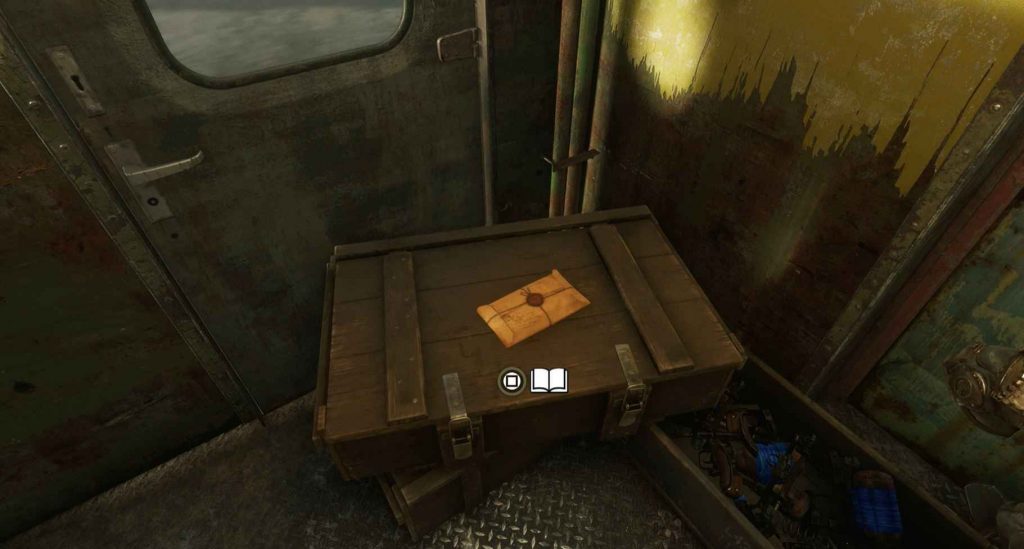
#11 – The only collectible in this level can be found down the stairs from the driver’s room in The Aurora.
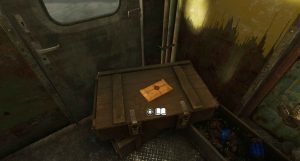
It is on the black crates at the bottom of the stairs.
Metro Exodus Collectible Guide – The Volga
The Volga is the first level with a lot of collectibles.
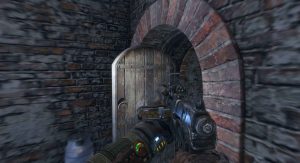
#3 – The first postcard can be found in the church which the cult are inhabiting. From the boat you use to exit the church, head into the wooden door on the right.
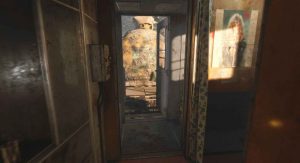
Then take a left and head into the room shown below.
On your left is a ladder, climb it. Head to the arch with beds underneath it. On the wall is the postcard.
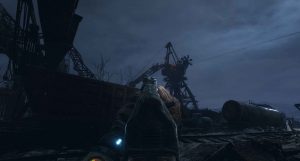
#12 – The first diary page is found once you exit the church and meet up with Duke. Head back to the Aurora, sticking to the middle of the landmass you are on.
Head past the plane and the fallen radio tower. You will see two dead shrimp next to a tree.
Just next to them, on a bed is the diary page.
#13 – Once you go through the building and are able to see Krest’s crane in the south of the map, you can find the next diary page.
Look to your left to find a flight of stairs.
Head down and to the back of the room. The collectible is on the shelf, next to the locker.
#4 – The second postcard in this level can be found once you reach Krest’s crane. After climbing up, head down the ladder to his room.
Next to the door to leave his room, on the wall, is the postcard.
#14 – The Water Logged Note can be found once you find Anna in the bunker. From her location, stick to the right of this area and continue along the path. Head past the gas canisters.
Take another right, at the end of this section you will find the diary page, next to a bed.
#15 – The next diary page, can be found near a monster nest in the centre of the map.
You will see a crate with a door. Head inside.
On the left, next to a dead body is the collectible.
#16 – The Folded Letter can be found in a bandit camp, just east of the collectible above.
When approaching from the west side, head up the stairs, and into the opening on the left. Then head down the stairs.
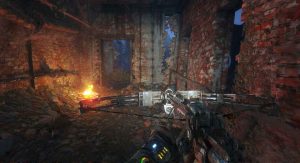
Once down the stairs, walk straight ahead towards the fire.
On a box, next to some bottles is the collectible.
#5 – The next postcard is found just below the giant bridge, in a safehouse.
Head inside to find it on the metal case, on your right.
#17 – In that same safehouse, look to the left on a shelf. You will find the next diary page.
#18 – The next collectible is found in a bandit camp, just by the terminal. It is a petrol/gas station.
Head into the left room, when looking at the front of the station. The diary page is on the blue shelf rack.
#19 – The next diary page, is in a monster nest just west of the petrol station mentioned above.
There is a destroyed van, inside it is the collectible.
#20 – The next diary page is on an island just below the monster nest mentioned above.
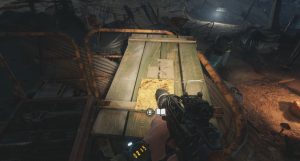
Once you have taken a boat to it, you can find the Bandit’s Note in the middle of the island, on a plank of wood.
#21 – The next collectible is in a house, half submerged in water and mud.
Take a boat to it and head inside, making a U-turn once you reach the larger room.
At the end, on the left is the page.
#22 – The blood-stained diary is in a hut, just south-west of the teddy bear location.
Break the lock, and you will find the collectible inside, on a shelf in the centre.
#23 – The second Faded Note is in a monster nest in the south-east.
In one corner, you will see this ramp that leads upwards. Climb on the boxes to get up to it.
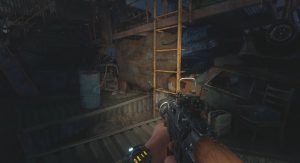
Continue along the path, sticking to the right. Once you reach the yellow ladder, climb up it.
Up the ladder, on a box is the diary page.
#6 – This postcard can be found just south of the terminal.
As you walk along the railway you will find a small hut with a green door. Head inside.
On the wall, directly where you enter, is the collectible.
#24 – Head all the way through the terminal. At the end, you will reach two big red doors.
To the side is a small room lit up by some candles.
Head down the small set of stairs, take a sharp left and the Thick Ledger can be found on the chair.
#7 – The last collectible is a postcard, which can be found once you head up the lift at the bridge.
Stick to the right side, break the lock on the door below with melee and then head through.
Take a left into the outside area and head to the fire. On the wall, next to it is the postcard.
Metro Exodus Collectible Guide – Spring
#25 – In this short level, the only diary page can be found to the right of Artyom’s and Anna’s cabin. It is in the next cabin over, on the table.
Metro Exodus Collectible Guide – Yamantau
#26 – The first collectible isn’t until after Artyom and the rest of the gang use the elevator to escape the cannibals. Eventually, Artyom will be told to step off the elevator.
Once you have stepped off, walk through the metal detectors to find the page on your left.
#8 – The next postcard is found once you reach the freezer room.
Continue onwards and through the gap you need to squeeze through. Now walk straight ahead and crawl through the opening, just to the left of the yellow power box.
On the left target, you can pick up the postcard.
#27 – Directly to the left of that postcard is the second diary page.
#28 – The third part of the diary is in this hallway pictured below, notable for the red flashing light.
Continue to the end of that corridor and hop on the boxes on your right.
Climb over and drop down on the other side.
Inside the small shack, on the left is the collectible.
#29 – The next collectible can be found once you reach this corridor shown below.
Head into the room on the right, next to the number three on the wall. The collectible will be on the table, by an axe
#9 – Once you finish the scene with Anna and the Doctor, the postcard can be picked up from the wall on the left side of the door-frame.
#30 – From that postcard, walk to the end of the corridor ahead. The second Officer’s Diary will be on your left.
#31 – Once you exit the room with a bunch of computers. Follow Miller and Anna out.
Head through the second set of large doors and you will see it on a box on your left.
Metro Exodus Collectible Guide – The Caspian
Much like The Volga, The Caspian has a load of collectibles.
#10 – The first postcard can be found as soon as you step off of The Aurora. Head into the building shown below.
Immediately, look at the door you just came into in order to pick up the next collectible.
#32 – The first collectible is on the second floor of the Slave Bandit Camp in the west.
Enter through the area shown below.
Climb up the stairs at the end and on your right, next to the man praying is the First Mate’s Diary.
#33 – From that collectible, continue onwards and up the ladder at the end of this floor.
Kill the five guards in the next two rooms and go up the stairs on the left. On the table in the far corner will be the next diary page.
#34 – The next collectible can be found once you head to the lighthouse. Once in the cave look for this bridge with a bunch of dead bodies.
Go to the left to find the letter sat next to one of the dead bodies.
#11 – The next postcard is found once you use the lift to reach the top of the lighthouse.
Once you meet up with Giul, head inside her hideout and look underneath the alarm box on the opening you just entered. The postcard is right there on the wall.
#35 – The Memo is found once you enter the spider tunnels underground. Eventually you will drop through a hole in the floor to a lower set of rooms.
Continue on and to the left. Once you reach the office desks, look at the first office on your right.
The Memo will be be on the desk to your left.
#36 – This collectible can be found once you reach the long hallway shown below.
Crouch and head into the room on the right.
On the desk in the back right corner is the next diary page.
#37 – Once you get to the archives room and have picked up the map you want to head through the door, just by where you dropped down.
You will enter a room with a large table. On the far right side, is the collectible.
#38 – Now you want to head to the location shown below after you exit the tunnel.
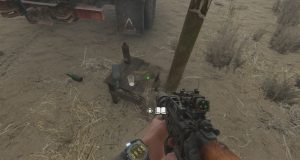
Right next to the large truck, on a table, is the collectible.
#39 – From that collectible, head into the bandit camp nearby through the hollowed out piece of metal.
Head down to the lower area and you will find a ladder at the far end. Head up that ladder
On the barrel, up that ladder is the diary page.
#40 – Now, head to this broken ship surrounded by a bunch of geysers.
Head inside the door on one side of the ship.
Now, make your way through this ship, passing the spider’s nest room and up the ladder. Head up to the Hermit’s hideout, and you can find the diary page on the crate in the corner.
#12 – The next postcard can be found in the ship with slaves that Anna points out.
Make your way all the way through to the control room on the second floor. It is above the room where you kill the heavily armored thug.
Directly on your right on the wall will be the postcard.
#41 – From that postcard, look just to your left. On the console will be the Shopping List.
#42 – Now, head to the small boat Bandit Camp shown below.
Head up to the campfire and use the ladder nearby.
On your right is the diary page.
#13 – This postcard is found in the green hangar in the airfield. The only standing building, other than the main one.
Head all the way to the back and on a cardboard box, against the back wall, you can pick up the postcard.
#43 – This note is found after you head to the Oasis to collect water. Drop down on the right and head up the metal ramp, right in front of you.
Take a left to find the diary page sitting on the radio.
#14 – From that collectible, head back down. Head inside the dilapidated van shown below.
Enter, turn around, and pick up the postcard just next to the door-frame.
Metro Exodus Collectible Guide – Summer
#44 – There is only one diary page in this chapter. After exiting Artyom’s and Anna’s cabin, head right. Head through the door, take a left to the end of the train car.
On the workbench to the right will be the page.
Metro Exodus Collectible Guide – The Taiga
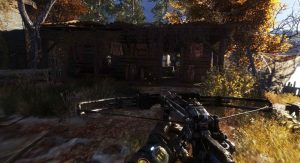
#15 – The first collectible here is a postcard. From where you pick up the crossbow, head into the smaller house on your right.
Head inside and pull out your lighter. In the second room you can pick up the collectible on a stand, after you burn the cobwebs away.
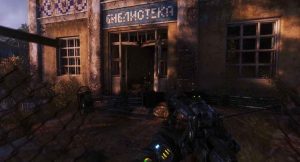
#45 – From that postcard, make your way outside and to the gate shown below. This is on the mains story path.
Walk through and turn around. Eventually someone will fire a crossbow bolt at the gate. On it is the first diary page of the level.
#46 – The Unsent Letter can be found once you reach the large statue in the courtyard.
Make your way up the stairs and into the building on your right. On a desk, right in front of where you enter, will be the diary page.
#16 – The next postcard is found nearby. So, from this collectible, make your way forward to the bridge. Do not cross it, instead dropping down.
Stick to the left side of the area and head back up to the building you couldn’t reach before.
Walk straight through to find the postcard on the side of some shelves in the centre of the room.
#47 – Now, clear out all the enemies from the next area. From the postcard above, head back to the broken bridge, crossing it this time. After crossing it head into the building on your right.
Move into the small room on the right side of this building to find the collectible on a desk.
#48 – We need to head up to the top of the large tower in this area. Head into the broken room on the right and climb the ladder.
Make your way into the tower and scale the stairs. At the top, on a box, to the right of the zipline, is the collectible.
#49 – The next collectible isn’t until you zipline to the next area.
On your left, you will see two tree-houses lit up. Scale the ladder on the leftmost one.
At the top, on a crate is the diary page.
#50 – From that collectible, make your way along the bridge and use the zipline on the right.
Just ahead of where you drop down will be a small house with someone. Kill the man and head inside to find the collectible on the bed.
#51 – Head to the main road, specifically the section shown below.
Make your way ahead, moving into the grass on your right. You will eventually see a small hut.
Inside that hut, on a crate, is the diary page.
#52 – Head to this location of the same area, just before the giant X on Artyom’s Map.
To your left, you will find a cave lit up by some green mushrooms. Head inside.
At the back of the cave, you will find the next collectible.
#53 – The next collectible isn’t until you have had the first encounter with the Bear. Once you free yourself, head forward to this location pictured below.
Head up to the left, ignoring the open gate. Make your way to the right of the map shown below.
Inside the small house will be the diary page.
#54 – Now clear out the large camp in this area. Head through the opening at the front.
Stick to the right and head into the wooden hut.
Inside on the dining table is the next diary page.
#55 – The next collectible is not until you zipline from this camp to the river.
Follow the river up until you see a cave on your right.
Inside, to the right of the campfire will be the Worn Out Letter.
#56 – Continue all the way down the cave. Once the bandits drop a body down into this cave, you can find the collectible just ahead on the floor, next to another body.
#17 – The next postcard can be found in the bandit camp, just below the churchyard.
Head up to the largest building on the hill. A lot of enemies would have gathered around this building while you were fighting them.
Make your way inside to the second room. Next to the door frame on the left is the postcard.
#57 – From that collectible, head to the slope that leads downwards, in the centre of the area.
At the bottom take a right. On the table at the end will be the next diary page.
#58 – Now, head to the church at the top of this area.
Just before you head through the gate, look at the body to your right. Inside a bag next to him is the collectible.
#59 – The next collectible is found after leaving the church. Make your way down the steps and take a left.
A little bit ahead you will see a gazebo. Inside it is the next diary page.
#60 – The next collectible is in the bandit camp shown below.
Make your way all the way to the end where the boat is. Head inside the building with a life-ring and two oars on the front.
On the bottom floor, on the table, you can find the collectible.
#18 – This postcard is in the next area. Turn on the power using the generator and head up the lift in the main building.
Then continue along and enter the door at the end.
On your right you can find the postcard.
#61 – This collectible is found in the building infested with spiders. Once you have picked up the fuel and started the generator, head to the big red door and activate the switch.
In the centre on that next room, underneath a body is the diary page.
#62 – After you meet back up with Alyosha outside, slide down and enter the second building on the right.
Inside, on the dining table will be the final diary page.
#19 – From the diary page above, head into the second room and turn around. On the door frame will be the final postcard in this level.
Metro Exodus Collectible Guide – Autumn
#63 – The only collectible in this level can be found after talking with Miller and the crew in the driver’s room. Head back all the way through the train to where the workbench is. Opposite that workbench is Katya’s Note.
Metro Exodus Collectible Guide – The Dead City
#20 – The first collectible in this level is a postcard. After your first encounter with the mutants you will head into this room.
Once inside, make a sharp turn to your right to find the collectible on a cabinet, in-between two lockers.
#64 – This diary page is found at the end of the tunnel where Artyom and Miller have to walk through the water. Climb up and go up the slope on your right.
Immediately make a U-Turn and you will find the collectible on a table.
#65 – When you get to the large broken escalator, scale it and then take a left.
Head through the door ahead. Continue to the next room and the room after that. The collectible is on the left hand side of the room, sitting on a table.
#66 – Once you get to Kirill’s base. Head to the back wall to find the next diary page pinned onto the board.
#21 – From that collectible, turn around 180 degrees and look at the pillar next to the workbench.
On that pillar is the final postcard in the game.
#67 – The next diary page is found once you exit Kirill’s base. Follow the story path until you reach the first train car you can enter. On the seat, just next to a body, is the collectible.
#68 – The next diary page is found once you get in the boat. About halfway along you will see a small room off to your left. Head into it.
Follow the path all the way around and head through the hole in the wall by scaling the ramp. On the table is the collectible.
#69 – The Browned Note is found once you have your first vision. You will reach an elevator, scale it and follow the main story path. You will see an open door on your left.
Head inside and you can find the diary page on the TV.
#70 – This collectible is found once you have the scene with the tank and have dropped down the hole. You will see a creature in the distance.
Head in the opposite direction and at the end of the tunnel, you will find the diary page.
#71 – You will have a vision where you put a gas mask on Anna, a little later in the level. From there, jump to the second building.
Once you have finished exploring the area, head to the door that is open in the back corner. Jump down.
Go through this door to find the diary page just in front of you.
That is it, you have finished the gruelling collectible hunt. Congratulations!
That covers how to get all of Artyom’s suit upgrades in Metro Exodus. I loved my time with Metro Exodus, stating “Metro Exodus is undoubtedly an amazing experience and an absolute joy to play,” in our review. You can check out our Atyom’s Suit Upgrades Guide for the game, as well as our guide on how to get both of the game’s endings. If you want to kill the catfish in The Volga level here is how to do it.
