This Maquette guide will take you through The Spiral and provide a walkthrough for the entire level, as well as showcase all the puzzle solutions so you can get to the concluding chapter of the game.
In this guide:
Maquette – The Spiral Walkthrough And Puzzle Solutions
Restoring The Bridge
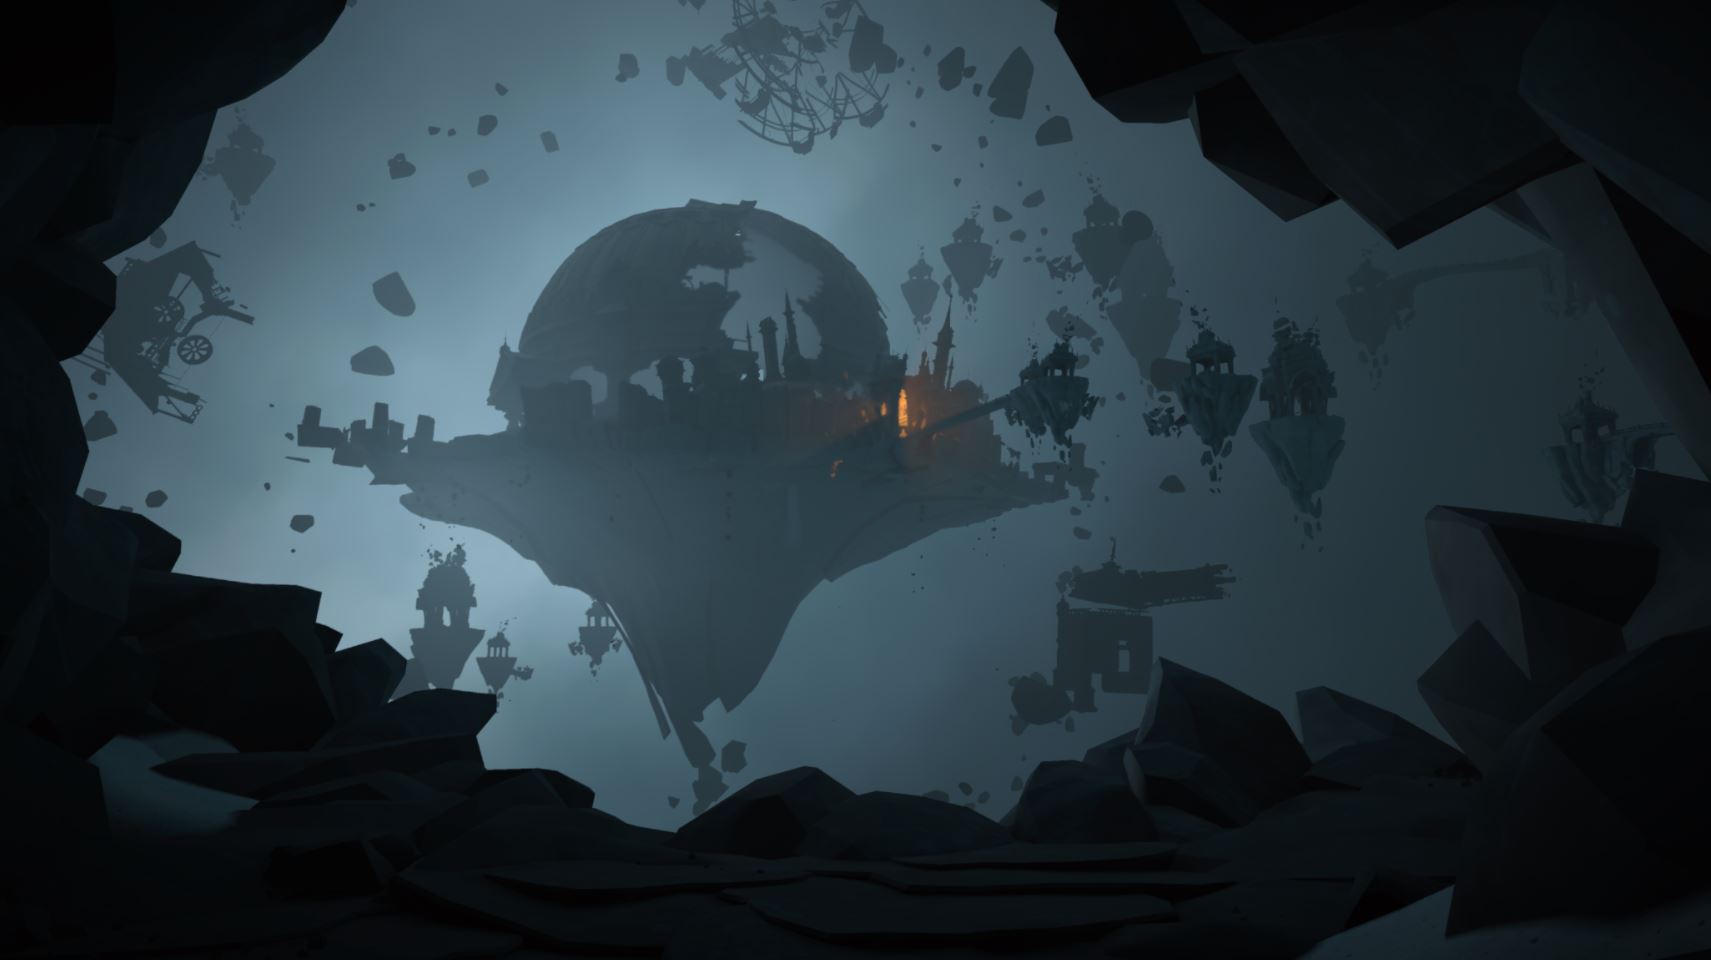
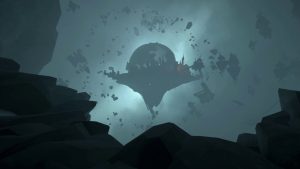
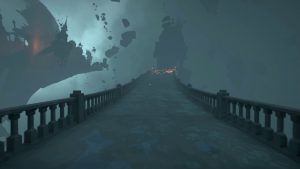
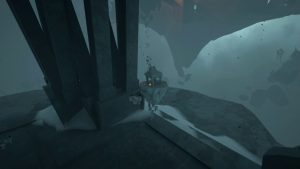
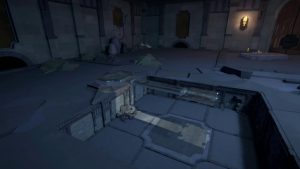
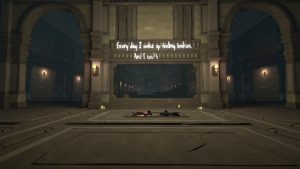
The Spiral is another short section of the game, but it utilises Maquette’s unique recursive gameplay in new ways. The start of the level begins in a tunnel and all you need to do is walk through it until you reach the outside area, where you can see the floating island in the distance. Once at this point, turn to your right to find a path leading upwards.

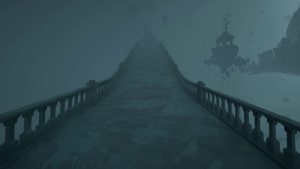
Take that path and walk along the bridge at the end.

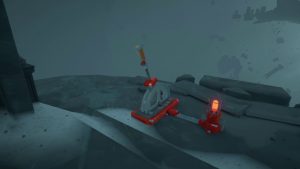
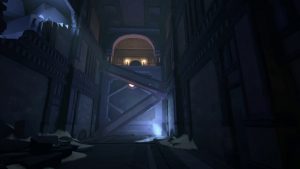
When you reach the island connected to the end of this bridge, you will see a switch on your left. Pull that switch and walk along the bridge that spawns.
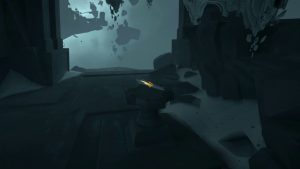
Hit the next switch, but don’t walk along the bridge ahead. Instead, turn to your right to find another path. Take this one instead.
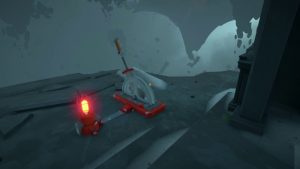
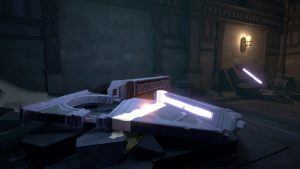
At the end, you will find a small model of the area you are currently exploring. Sitting on the pedestal underneath that model is a bridge segment. Pick it up and climb up the small rocks on your right. Hold out the bridge and position it close to the broken path which you didn’t go down to have it connect the two ends together and form a complete path.
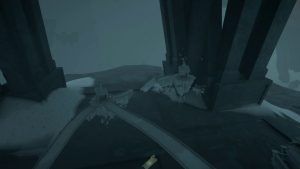
Before you leave, look to your right to find another small island with a switch on it. Pull this switch within the model to spawn the final bridge and open the way ahead.
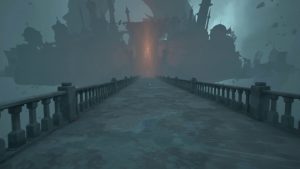
Make your way back down the bridge and then take the other path this time, all the way up to the entrance to the large floating island.
Unlocking The Door
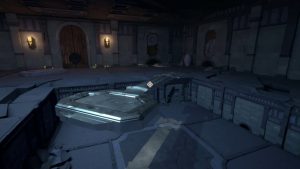
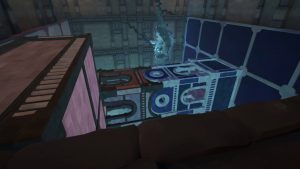
Head into the building surrounding the island and follow the corridor down until you reach a wall ahead with crystals in it. Just to the right, you will see an opening and inside there are three rectangular blocks that you can pick up. To the left of that is a model of the wall you just saw.
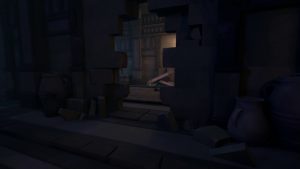
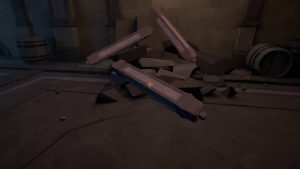
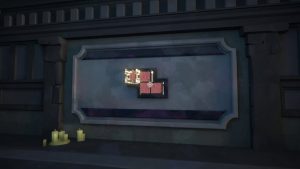
The solution here is to place the rectangular blocks on this model so that they spawn within the main room and can be used to reach the platform above. You only actually need to use two blocks.
The first should be placed diagonally from the centre of the wall on the right and going down to the base of the wall, slightly hanging off the edge in the left corner. The second is placed in the middle of the wall, on top of the previous block, and going upwards to the top left corner of the wall.
Once both have been placed you can then jump up the blocks and reach the wall at the top, going through the door.
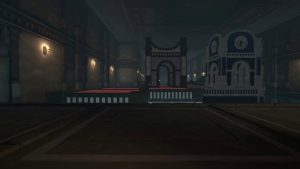
Go through the door on the left when you enter the next room and ahead into the following area. Here you will find two pits with a key in. The recursive mechanics work in the way that what happens in this room is enlarged in the previous one.
To solve this puzzle, grab the key from the right pit and place it into the left one. Repeat this once more, but balance the key so that it gets caught on the wall on the left side of the pit, creating a ramp.
Head back into the previous room and walk up the key to the raised platform above. Up here you can find another key, of a unique size.
Jump back down and return to the room with the two pits. Place the key into the pit on the right and then grab it again from the pit on the left. Go up to the door ahead and hold out the key to have it unlock the door.

Reaching The Crystal
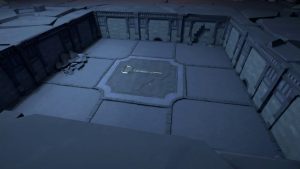
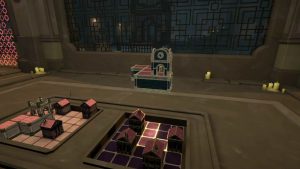
Continue down the passageway and the staircase to find a small grid with houses in the middle and one block with houses on either side. Where you place these blocks on the side within the model in the middle will determine the path ahead for you to cross the chasm.
Starting with the pink block on the left. Grab it from the wall and position it in the pink grid in the middle so that it starts in the bottom left corner and the tower is to the right of the existing block against the left wall. You can see the position below in the images.
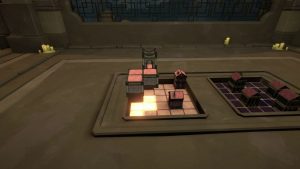
Grab the purple block and position it so that the top three squares in the middle column are taken up and the tower is to the left of the house against the right wall. You can see the position below in the images.
Make sure the pieces aren’t jagged and are smoothly in place and then jump to them ahead, across the chasm.
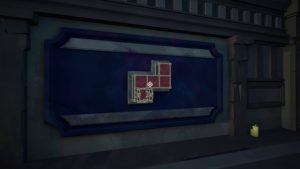
Once you reach the other side, you will see ahead that the pieces have been flipped. If you chose the right positions, the two towers should form a bridge, allowing you to cross from one side to the other.
Walk along the pieces to the crack on the opposite side to complete the level.
Congratulations! You can now move onto the final level in the game, The Exchange. If you want to go back to our full walkthrough for the game, you can find it here.
Maquette is available now on PS4 and PS5.