How To Record Gameplay On PS4 – The PlayStation 4 gives you the chance to savour some of your biggest gaming accomplishments by recording them, allowing you to watch them over again with a punch of accomplishment. Even better, you can share them with other people too, for bragging rights and generally showing you’ve got skills, innit.
While Sony’s console is nearly seven-years-old, people still aren’t sure how to record gameplay on PS4. That’s where we come in, so check out our quick guide below and you’ll be compiling those classic gaming moments in no time.
How To Record Gameplay On PS4
Step 1 – Adjust PS4 video settings
Hold down the PS4’s share button and you’ll bring up a menu, which gives you access to a bunch of different options. First though, you’ll want to specify how long you want your console to record clips, which ranges from 30 seconds to one hour. You’ll find these options in ‘Length of Video Clip.’
When you hit the share button during gameplay, your PS4 will record the set amount of time that you have selected here. The standard option is 15 minutes.
Step 2 – Start recording
Once you’ve fired up your game and want to start recording, simply press the Share button twice. This will set the PS4 to record the amount of time that you specified in the above step, although if you want, you can simply hit the Share button again to stop the process. Once you’re done, the footage will be stored in the PS4’s Capture Gallery folder.
Step 3 – Record Last 15 Minutes
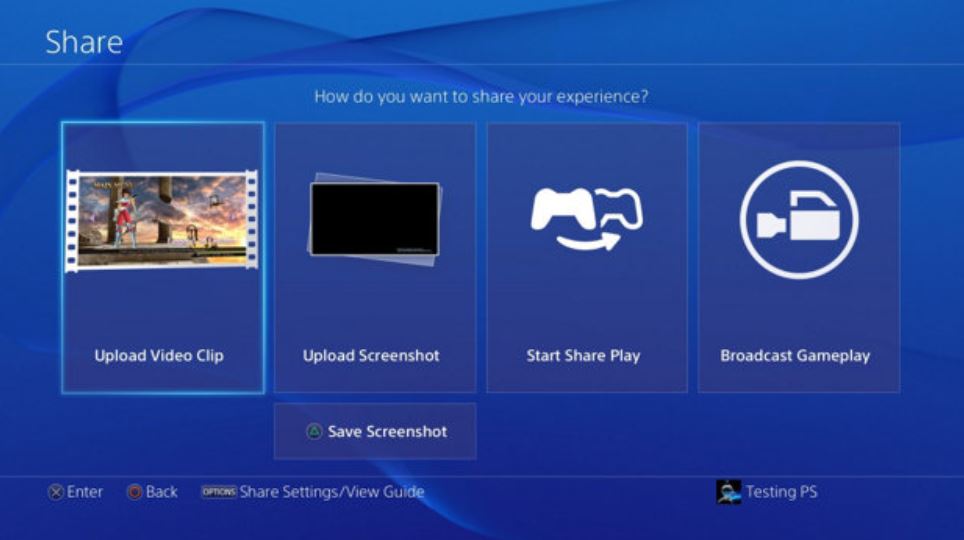
This is the second method of preserving your gameplay moments. Your PS4 will automatically save the last 15 minutes of gameplay footage, which you can preserve by hitting the Share button and then hitting Square to save the clip in the Capture Gallery. Simple! This option also gives you the chance to share it on social media channels if you want.
Step 4 – Editing your footage
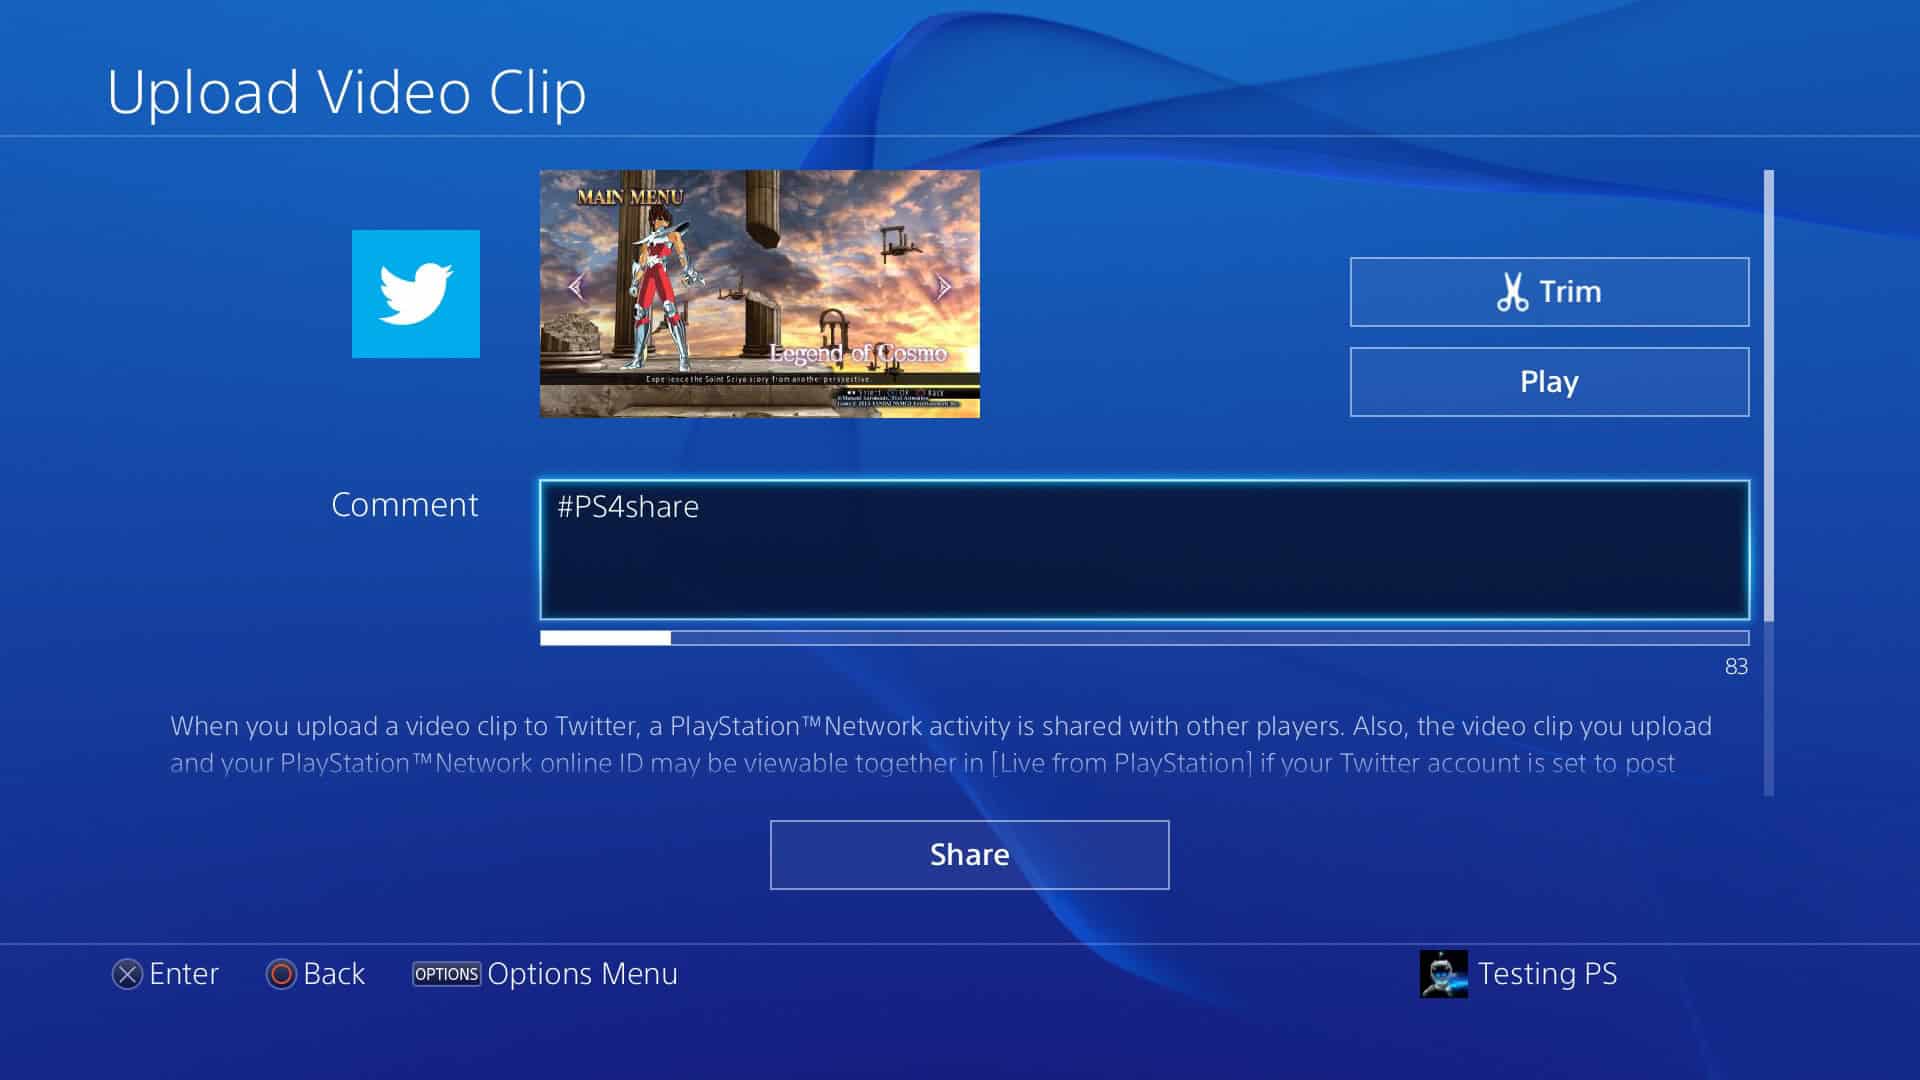
If you’re sharing your clip on social media, then you’ll need to make sure it’s at the required length. Then again, you may just want to play around with the footage anyway, even if you aren’t sharing it. To do this, hit up the Trim option in the Capture Gallery by highlighting the video and pushing the options button. Alternatively, the Trim option is also found on the Share Video Clip page when preparing to distribute your video on social media.
From here, you can can go about trimming your footage as you see fit. When you’re done, you’re ready to share it.
Step 5 – Sharing
If you want to get your gameplay out on the web for public consumption, you’ll first need to make sure your PS4 is connected to your social media accounts. Once you’ve selected what channel you want to share on (remember that Facebook is no longer supported), you just have to fill out any description boxes and what-not, and you’re good to go.
Step 6 – Transfer to PC
If social media sharing isn’t your cup of tea, you can instead transfer your gameplay clip(s) to your PC via an external hard drive or flash drive. Firstly, plug your device into the provided USB ports on the PS4, and head to the Capture Gallery. Once here, select the clip you want to transfer, and then hit the Options button and then select Copy to USB Storage Device. Next, select the clip(s) you want by highlighting them and hitting X to tick them, and then move to the right-hand corner and select ‘Copy.’
All that’s left to do is hook up your USB device to your PC, and then select the PS4 folder > Share > Video Clips, and then select the game folder that your clips are stored in. All done!