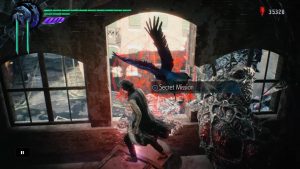
Devil May Cry 5 brings back secret missions hidden throughout the game. The twelve secret missions can be hard to find and completing them will reward you with a Blue Orb Fragment. These missions will challenge you in various ways, and each one is worth doing. Even if you can’t complete them during a mission, you can always challenge them in the main menu after you unlock them.
Let’s take a look at the twelve missions you have to tackle and where to locate them. The Written guide is below this video guide:
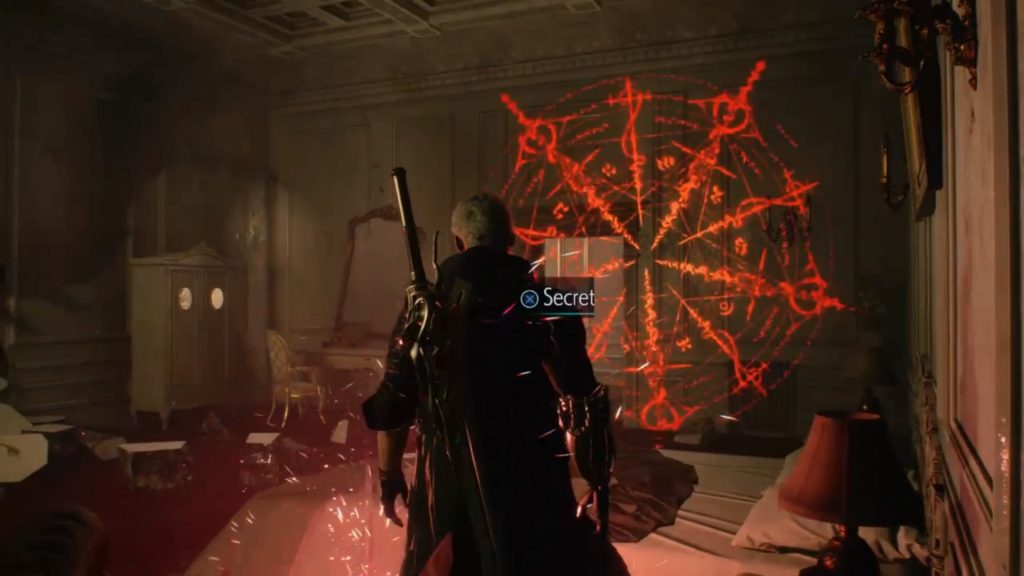
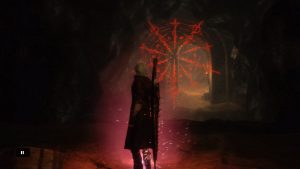
Mission 2
The first secret mission is a given, as it introduces you in how to find secret missions. This mission is easy, simply defeat all the enemies within the time limit.

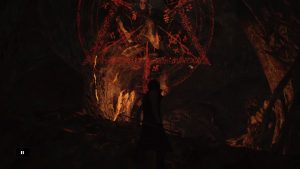
Mission 3
When you destroy all the Blood Clots and enter the staircase, head down to the bottom floor and find the secret mission.
This mission isn’t too bad as long as you are fast. You have destroy all the Red Empusa (red orb monsters) before any of them can escape.
Mission 4
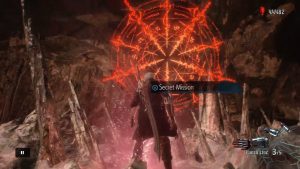
In the same area you acquire a a Blue Orb Fragment by braking down the hatchling barrier. In the second There is a second hatchling barrier. Use the second hatchling on the barrier and make your way to the top of the building. At the top, you’ll find the next Secret Mission.
This secret mission has you collecting all the red orbs before they disappear. I would recommend starting on the right hand-side and working your way counter clockwise.
Mission 5
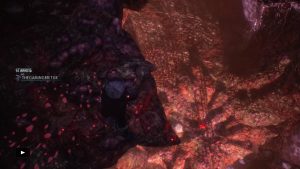
When you reach a big open area that you drop down to after a big group fight, summon Nightmare. It’ll smash the shelving in front of you revealing a massive open area. Defeat all the enemies that spawn and head up the scaffolding in that area.
This mission will ask you to defeat all the demon without taking a single hit. Again, this isn’t hard. Simply summon Nightmare and constantly attack everything just make sure you avoid any attacks coming your way and be mindful of you’re surroundings
Mission 8
When you reach the second lava stream, jump onto the flowing platform. Quickly look to your left for two platforms, one of which will have a Red Orb branch. Jump on these platforms and you’ll see two moving grapple points. Ascend these grapple points and in the big open area look for the secret mission point.
This one can be tough if you aren’t quick enough. It requires you to constantly grapple around and reach the end without touching the ground. Just be quick and responsive and you shouldn’t have too much trouble
Mission 9
in the same area where you acquired the Blue Orb Fragment using Nightmare to destroy the vines. Jump on the ledge up against the wall and run around the platform. Look for the red dot and activate the Secret Mission.
This mission requires you to kill a demons within 20 seconds. This may seem tough, but some of it comes down to luck. At the start, destroy the tentacles as quickly as possible then summon Nightmare and pull off all your attacks as quickly as possible with Griffin and Shadow. Just make sure you watch out when they’re almost dead so you can finish them off with V.
Mission 10
When you reach a green hued area you’ll see two passages with teeth to the left and to the right. Flying Fire monsters will spawn and then a giant mantis monster. Defeat them as quickly as possible and head into the right-hand path. At the end of the path you should find the red dot and activate the secret mission.
This mission requires you to take down the scissors monster with a single bullet by hitting their weak point. The best way to do this mission is to attack the monster until you completely destroy it’s scissors. It’ll freak out and its head will start to glow red. Equip the shotgun and aim for its white mask, dealing a single blow to the monster.
Mission 11
When you’re inside the crumbling building, you’ll have to destroy a Blood Clot to progress. When you destroy your first one, the building will shift. Head back up to the top of the building you progressed through. Look for the secret mission facing the wall south.
You have to maintain an S rank throughout the entire mission. This can be quite tough but very doable. If you’re having a hard time, wait until you get the motorcycle weapon, Cavaliere. This weapon is great maintaining an S rank and it can defect attacks as well.
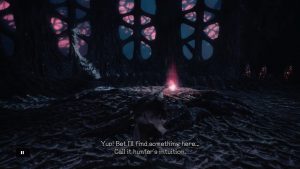
Mission 12
After all the blood is poured into the pool and the statue moves to reveal the passage beneath. Head down the path. When you reach the first stone, climbing stairs turn around and you’ll see an alcove on the opposite side. Jump to it and find the secret mission.
This mission requires you to stay in the air for 15 seconds. This is easily done with the motorcycle weapon, Cavaliere. Simply do the back + Circle to launch yourself into the air. While in the air, simply tap the triangle button repeatedly until you finish the mission.
Mission 14
When you’ve re-acquired your three familiars, you’ll reach a chamber where your path is blocked by large vines. Turn around and you’ll see the second Blood Clot in a corner. Destroy it and head to the corner behind the blood pouch to find the secret mission
This mission simply asks you to reach the Blue Orb without touching the ground. This mission was the hardest for me to complete as it requires precision timing. The best way to do this is to jump off the cliff and right before you hit the ground double jump and hold the jump button down to glide into the opening. When the griffon disappears, use the R1 + Circle button to teleport forward. If you still don’t make it, repeatedly tap the R1 + Circle button over and over to slowly move forward and hopefully you’ll land on the orb fragment.
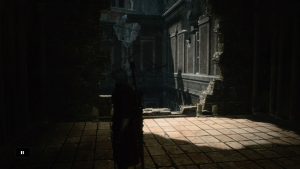
Mission 15
If you followed the path behind the Divinity Statue where you chased after the Blue Orb Fragment with the Rocket Punch Devil Breaker. You will see a big platform that progresses you through the story. Fall down on this platform and head to the cliff side on your right side.
This mission asks you to simply finish the mission by getting to the goal. You have a small amount of time to reach the goal and the mission requires some precision timing when it comes to the platforming. The best tip I can give is: When you reach the final jump from the opening mushroom on the wall, jump from that mushroom and wait until you run into the wall to use the wall jump.
Mission 16
When you reach the second chasm, don’t go down the blue-hued path. Instead, jump down the second chasm. After defeating the armored armadillo enemies, you’ll reach another chasm. Look down around you should see a massive Red Orb team on the same platform that crumbles away right underneath you. Drop down to this ledge and run behind the massive red orb tree. Behind the massive Red Orb tree is a path that descends even further. Look around and you should see a big platform with floating Red Orbs in the middle of it. It’s one of the largest platforms you can find. Drop to this platform and run to the back of it against the wall. On this platform is the last secret mission in the game.
This mission asks for you to collect 800 Red Orbs. That can be tough if you haven’t levels up the Dr. Faust Hat. You can level up this hat’s particular abilities to increase how many orbs you acquire. If you have upgraded the hat, simply attack with the Forward + Triangle button until you collect the necessary amount of red orbs.
We hope this Secret Mission guide was helpful for you in completing some of these challenging missions. For more help on Devil May Cry 5, check out our guides for finding all the Blue and Purple Orb Fragments.
- Blue Orb Fragment Guide Locations
- Purple Orb Fragment Guide Locations