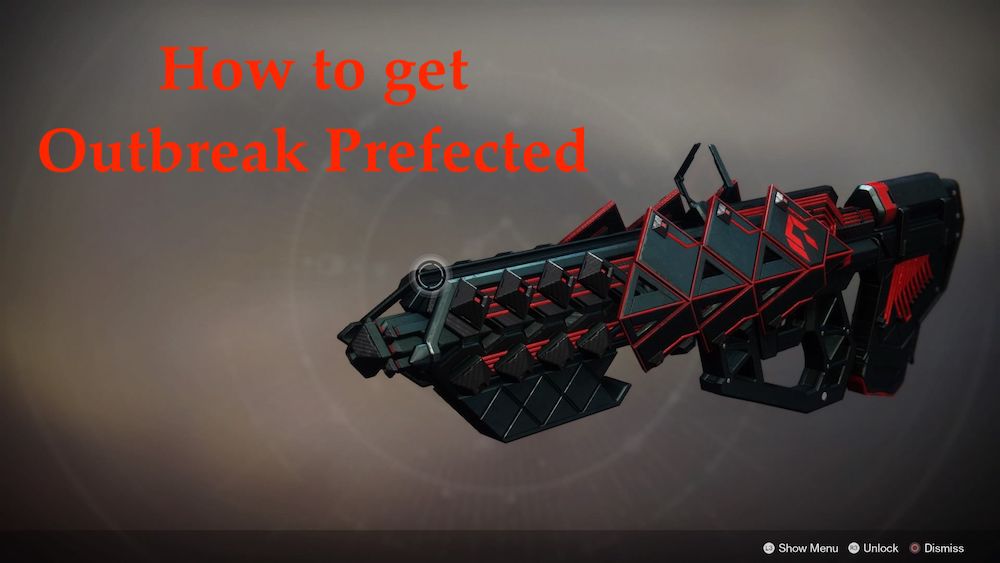
Veteran players of Destiny will recognize Outbreak Perfected as the exotic pulse rifle, Outbreak Prime, from Wrath of the Machine, the raid that became available with the launch of the Rise of Iron expansion. However, this is now Destiny 2, and we have new ways to acquire old or lost guns.
This time, the quest to get Outbreak Perfected is a bit more like the Whisper of the Worm. You have to obtain the Fallen Transponder. This item can be obtained in the Weekly Heroic Adventure, Bad Neighbors, on Titan this week. Some reports have come in that it can also be found from doing patrols on Titan. However, I cannot confirm that.
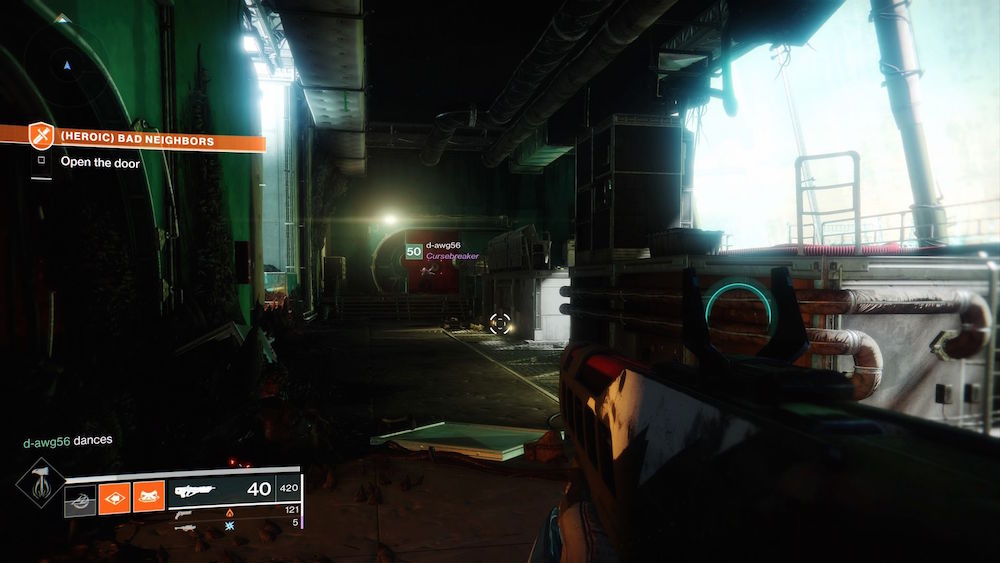
You continue through the adventure as normal, until you come to the room with the shrieker. After killing it, you will detour to the left behind what used to be a locked door.
**this door will still be locked if you haven’t yet completed the blue quests on Titan, The Enemy of my Enemy. At the end of this quest you have the option to kill the Fallen Captain Andy the Hive Knight, or just the Hive Knight. Only kill the Knight. Doing so will have the Captain gift you the quest item, as well as unlock the door**
Once inside, head to the right of the room down the stairs. On the table will be a datapad that will start you on your quest.
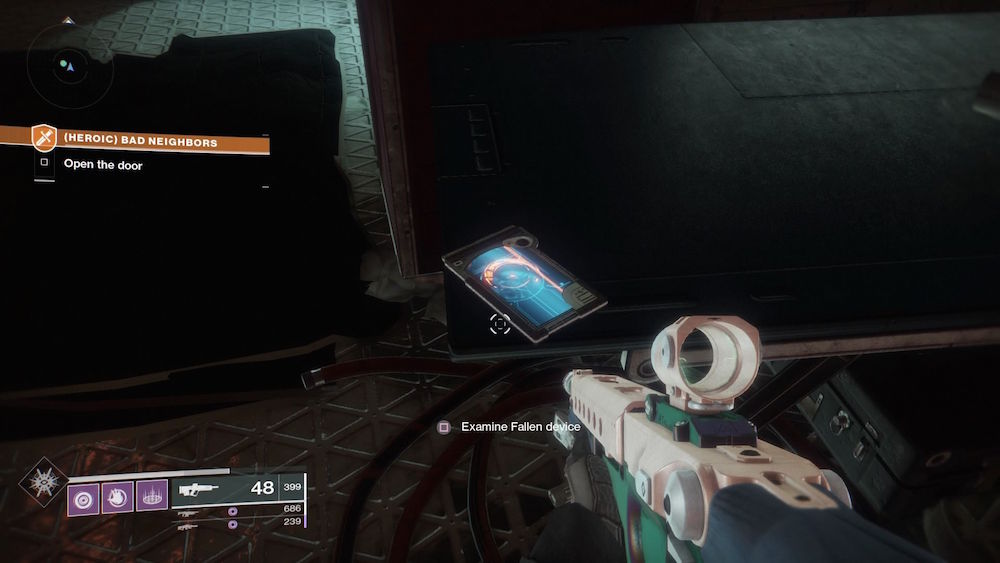
Solving the Riddles
Inside of the datapad will be six riddles stacked to Nods. The answers are in order here, and all are found in Lost Sectors.
Nod 1 – The Drain in the EDZ
There is a pit at the first room you get to where, after you drop down, the first nod can be picked up using Square.
Nod 2 – Whisper Falls in the EDZ
In the right of the first room, at the bottom of the cave.
Nod 3 – Atrium in the EDZ
After the first room, you have an encounter. Head out of the room and turn left. Here in a spare room, you will find the nod.
Nod 4 – Widow’s Walk in the EDZ
One of the few time you will need to complete the Lost Sector before finding the nod. After all the enemies are killed, just jump up to the right of the chest and you’ll see the glowing nod.
Nod 5 – The Carrion Pit on Nessus
After completing the Lost Sector, run past the final reward chest. To the right behind the wall will be the nod.
Nod 6 – The Rift on Nessus
Once the Lost Sector is completed, run to the left of the final reward chest. Here, hanging off the edge will be a supply container, and inside that will be the last nod.
Coded Message – The Farm
The coded message is very reminiscent of how you had to decipher a code using binary in the original Destiny. In short, the message tells you to head to The Farm. Yes, The Farm. It seems Bungie has been wanting this public space to become more relevant, seeing as both this and The Thorn quests take you back here.
From the spawn point, head to the right where you will notice an entrance to the basement of the barn. In here, you will see a Fallen Captain waiting for you to make nice.
Zero Hour
This is where the quest ramps up and takes a very hard, but nostalgic turn. You and your Fireteam will be transported to the old Tower. Yes, the same Tower you see get destroyed in the open scene of Destiny 2, as well as where you wasted days of your life dancing in the original Destiny. The mission itself is somewhat straight forward.
You have to kill every enemy you encounter, while also going as fast as possible.This where the challenge is enhanced: You only have 20 minutes to complete this challenge before you’re taken back into orbit. The mission itself is recommended 690 Power level, and that is a generous figure. Multiple times my fireteam and I were one-shotted by lowly Shanks. Regardless, there aren’t any “No Respawn” zones, so there is no threat of the Darkness taking over.
However, because of this, like in the Whisper of the Worm quest, all players will have to make it completely through on their own. There will be no “Joining Allies” to skip portions.
After the first few rooms with adds, you will start to come to platforming portions. These portions are somewhat hard to explain, but I’ll try my best to explain the parts my Fireteam and I got caught on.
The Ship
Eventually, you come to a hanger with a ship that is surprisingly undamaged. Under the nose of the ship, you’ll drop down into a vent. From here, you will proceed through vents until you come to a room that has a grate to the right. Ignore this grate, and instead head left behind a turned over table.
Here you will find yourself in a room full of grates to go through. The first grate you come across is the one you are looking for. Drop into it. Don’t stay here long though, because the ledge will fall. From here it’s pretty much a straight shot to the crans.
If you have a Warlock or a Titan on your team, then you are in the clear. With their jumps, they can jump down to the ledge you will need to get to. Once on that ledge, they can hit a switch to make a short cut for the other two members. However, if you are unlucky and are running three Hunters, then you will have to platform across the lights jetting out from the wall to your left. As a Hunter myself I recommend St0mp-EE5. Once you arrive on the platform with the switch, you will want to run up the stairs and across the beams. Above you now will be an open grate to jump into.
The Fans
Once inside just follow the path and jump to the fourth grate in the room with the yellow platforms until you come to a room with fans. This part can be tricky. Along the walls will be red cutouts, and you’ll have to use them to drop down past the fans. As you fall, you’ll get pushed out over the blades of death, but you can use the center of the fans to stand on to gain your barrings. This will be needed as you continue down these fans of death.
Once at the bottom, you will run into a very open room. This room is extremely reminiscent of The Whisper of the Worm. You will need to platform along with the beams on the wall to a small opening at the end. If you have a teammate that is better at platforming, have them head out first. At the end of the path is a switch that will lower panels for the remaining players to make things a bit easier.
From here, you’re on the home stretch to the boss room. As you continue to the final room you will come across the last real challenge, the Labyrinth.
The Labyrinth
This maze isn’t horrible to navigate. It’s basically a giant eight with four squares attached to it. In each attached square, there is a switch. After all four switched are hit, the door at the end will be open.
This isn’t as easy as it sounds, though. Periodically, electric walls will block your path for a few seconds while an evil Roomba robot seeks to kill you like in a slasher movie. Luckily, this should take too long to complete.
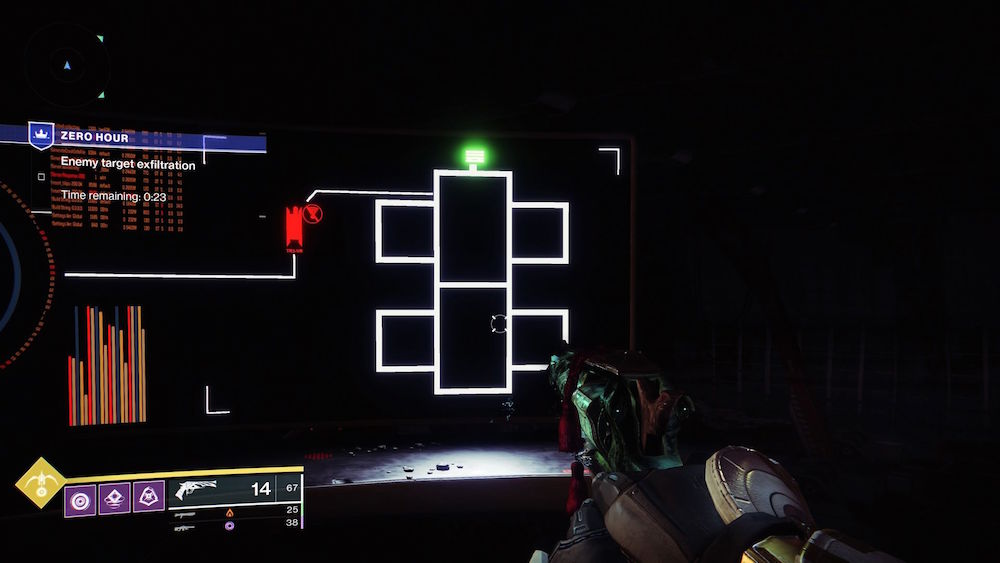
From here, you will come to a room with a small Cryptak symbol on the wall. Once you push up against that, the wall will open to reveal a large room where Outbreak Perfected was taken. Go to the far back right corner and jump down the cut in the floor. Here will be the final and most hectic boss fight I have experienced in a long time.
Ultimately, you want to get to this room with about 5 minutes to spare. You will have to kill every add that spawns in, including the boss. My team consisted of a Nightstalker Hunter (me), with Orpheus Rigs, and two Warlocks. One Warlock was a Voidwalker with Dire Ahamkara Skull and another with Well of Radiance and Phoenix Protocol equipped. This worked best for us, but whatever weapons and supers work best for you will be the way to go.
Outbreak Perfected
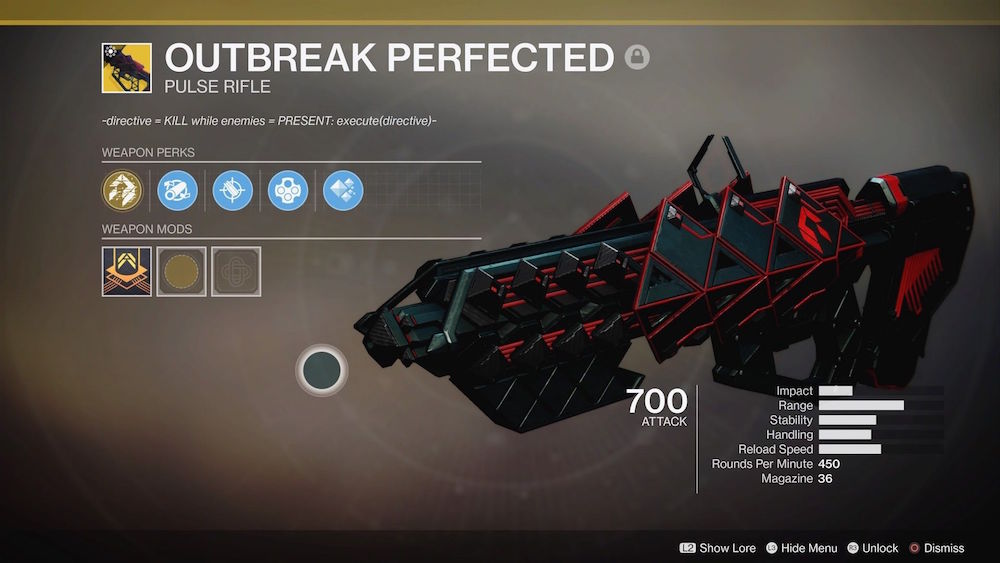
After defeating the room, you will be awarded the new/old exotic pulse rifle. This gun has a devastation twist to a firefly that old players will welcome back and new players will love.
Much like Whisper of the Worm, players will be clamoring for this gun for a while. And with the difficulty of the mission this high, I think it’ll be a while before everyone has one. If you are hunting any other exotics, here are a few of our other guides.
We will be periodically adding new additions to the “How to get” exotics, so if there is one you would like to see next, let us know in the comments or by tweeting @psudotcom or me personally, @LOSTHeroes13.
Also, be sure to check out all the new fixes and feathers Update 2.2.2 had.
Until next time Guardian, Eyes Up.
